TABLE OF CONTENTS
- Step 1: Ordering Basics
- Step 2: Entering Items
- Step 3: Item Search
- Step 4: Manual Entry Open Item
- Step 5: Entering Items with Tax Included
- Step 6: Entering Items with Add On Groups
- Step 7: Entering Modifiers with Add On Groups
- Step 8: Entering Items with Modifiers
- Step 9: Item Doubles
- Step 10: Item Recipes
- Step 11: Editing Items before Sending
- Step 12: Sending Items on the Order
- Step 13: Editing Items after Sending
- Step 14: Item Discounts
- Step 15: Item Comps
- Step 16: Item Voids
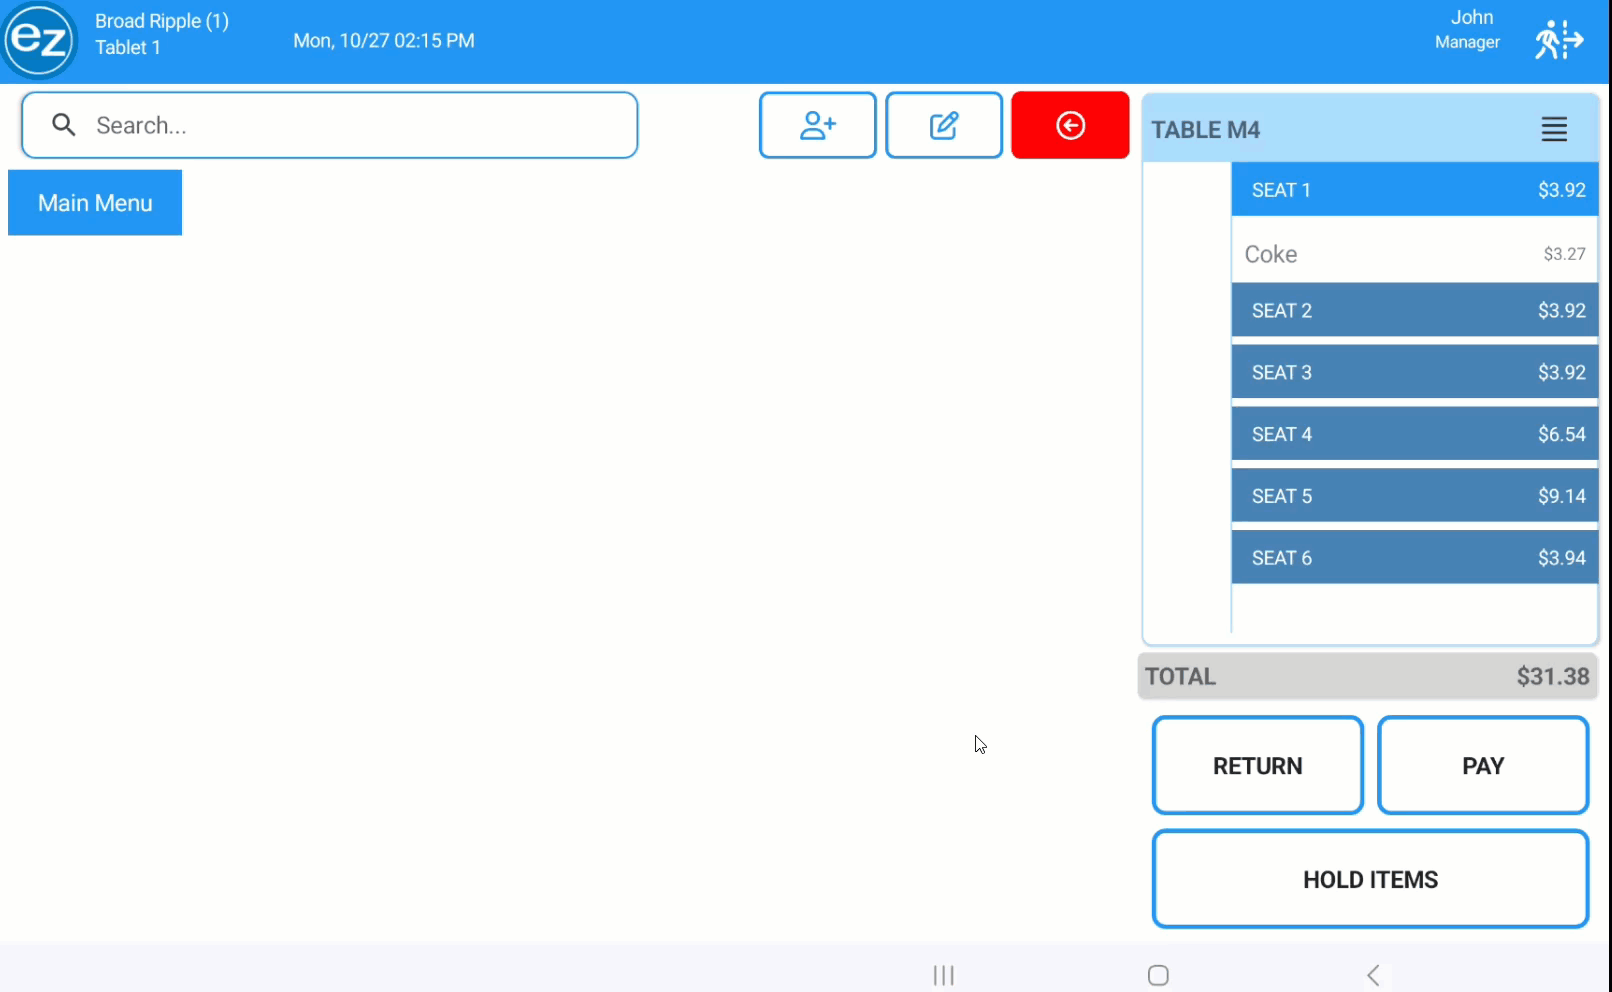
- Step 17: Adding Seats
- Step 18: Manager/Employee Override
- Step 19: Transferring Orders
- Step 20: Merging Orders
- Step 21: Void Order
- Step 22: Re-sending Orders
- Step 23: Auto-Gratuity
- Additional Resources and Help!
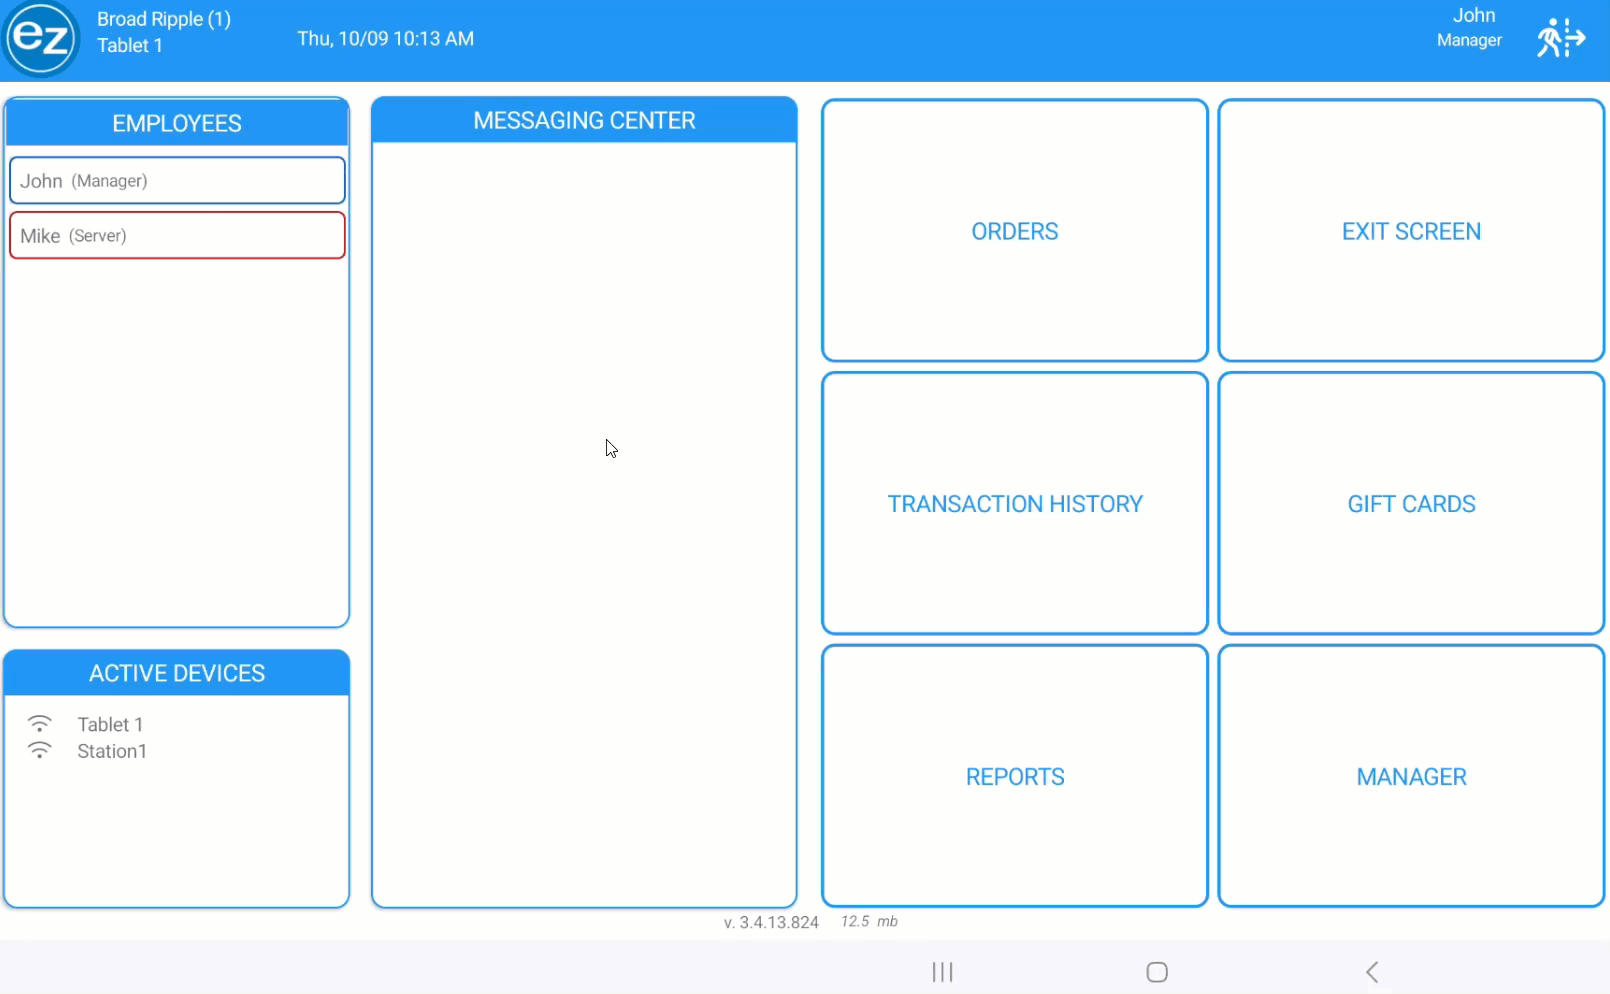
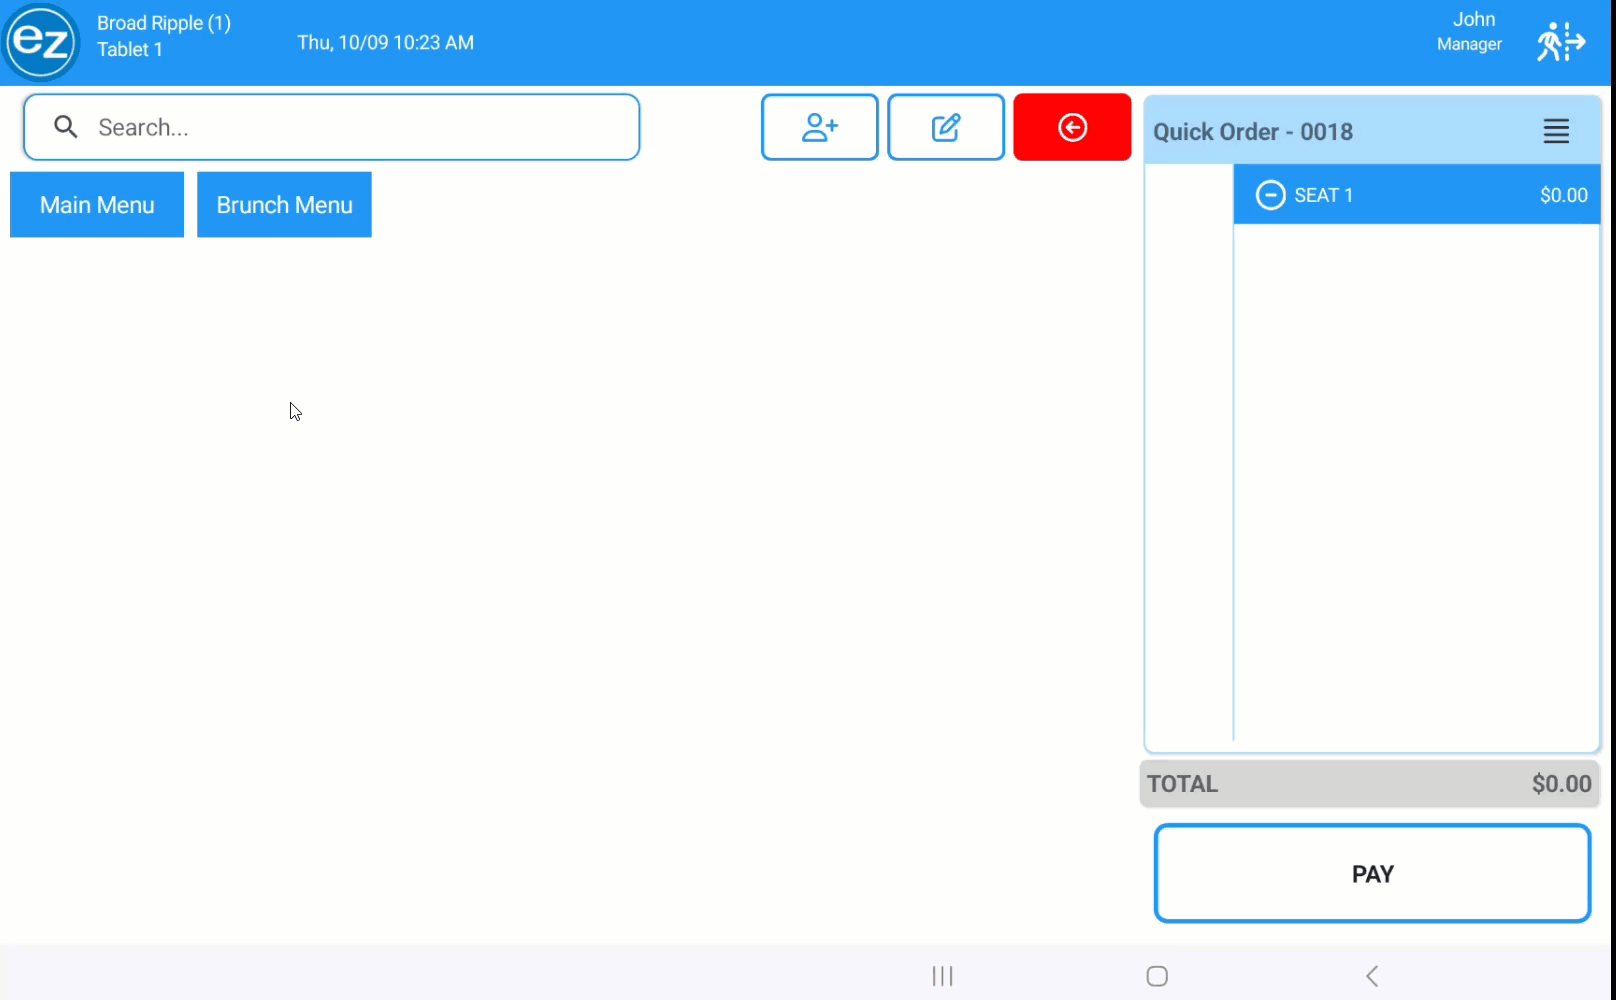
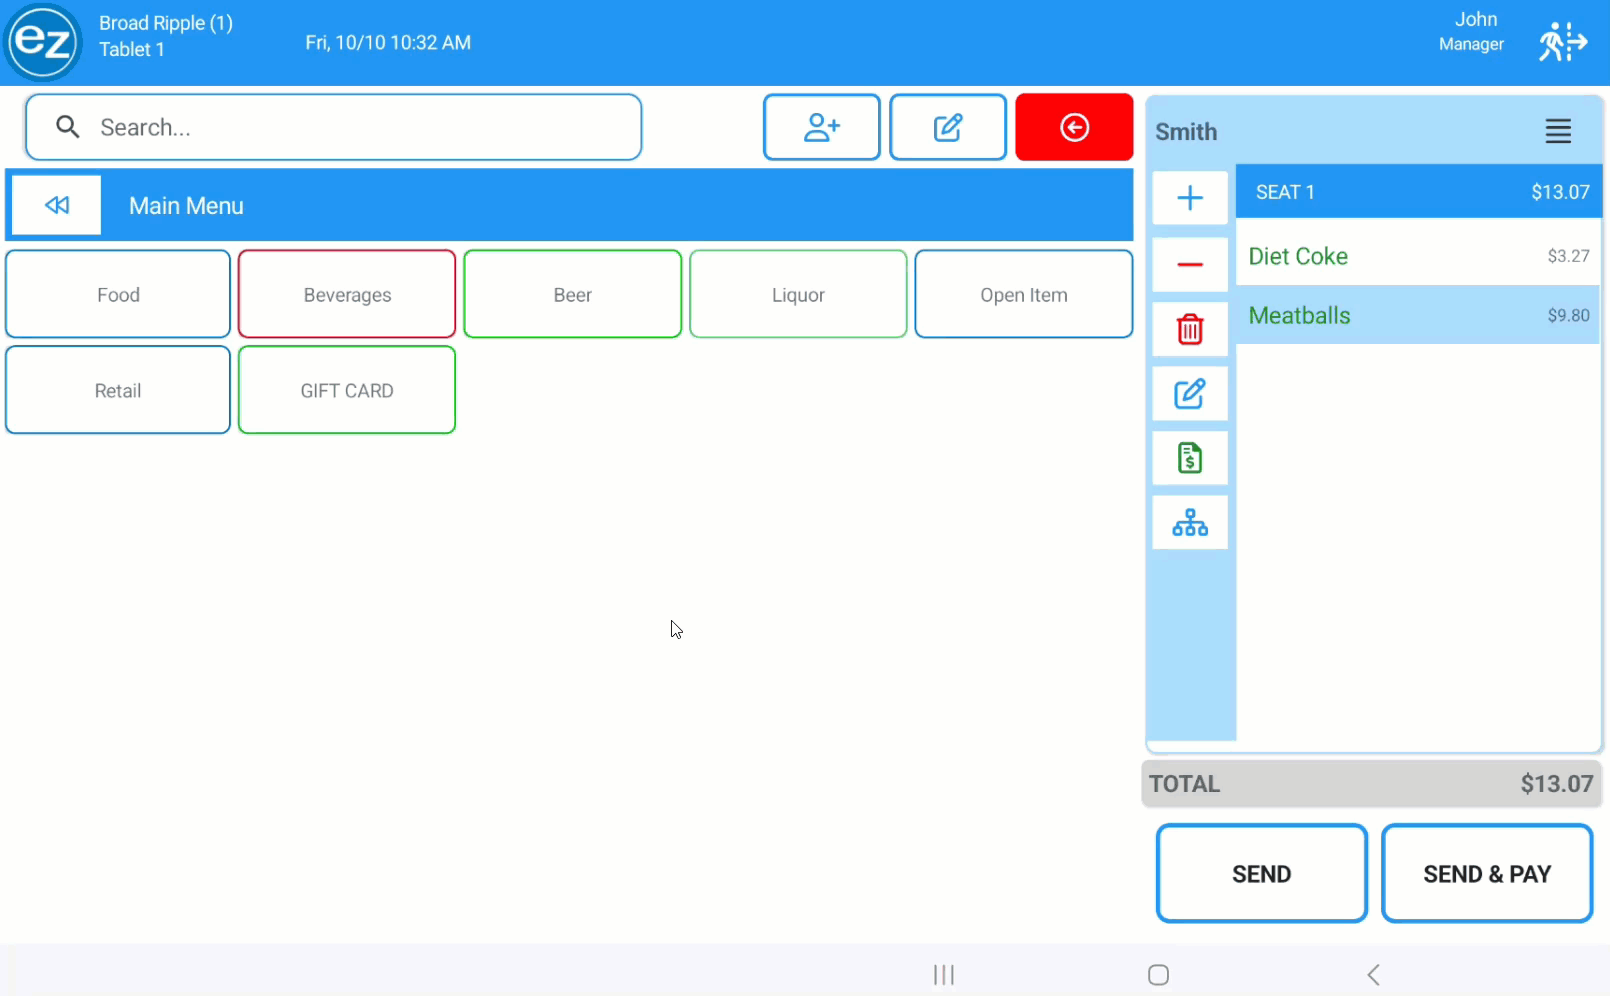
Step 1: Ordering Basics
Accessing the order section will require the employee to have order access permission turned on from Studio
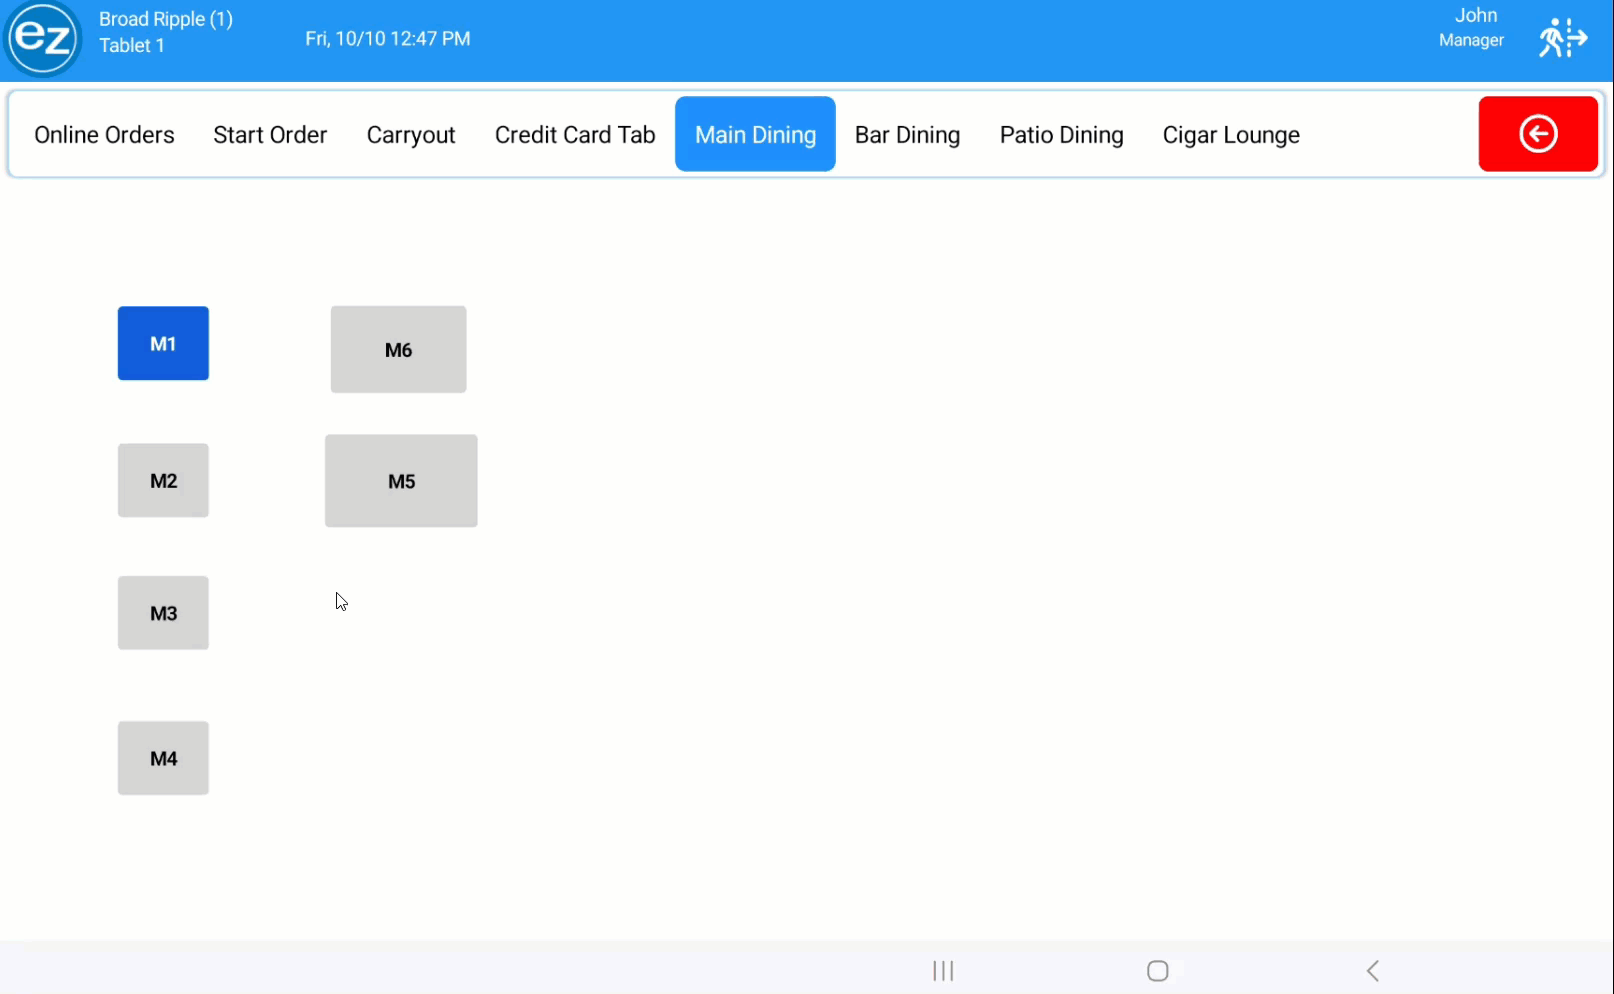
- Select the Orders tab from the Control Center section. This will take you to your orders page where the different tab names and types that were created on Studio will be listed
- Simply navigate to the respective tab section and create the order. An empty order ticket will be listed to begin entering items for the order
- The order ticket will be displayed by the order identifier and employee's color setup on Studio
- The top heading of the order ticket will list selection icons for adding seats, kitchen ticket instructions, returning back to the order page, and additional ordering features
- Add guest icon will create another seat on the order for organizing items for the kitchen ticket or payments
- The edit pencil icon will prompt to add an order instruction that will print at the very top of the kitchen ticket
- For displaying additional ordering options and information select the the four horizontal lines hamburger icon at the top right of the order ticket. Details of the employee assigned to the order, when the order was started, and last updated time will be shown.
- Additional ordering features will include the ability to void, merge, and transfer orders
- The red back arrow will return you back to the previous ordering section listing all the pending orders
- Selecting the red back arrow while the order is empty will automatically close out the order
- Selecting the red back arrow with pending items(not sent) or sent items will keep the order open and listed inside the respective ordering section
- The green dollar sign icon means the items on the order have been sent and the order is ready for payment. Orders without the green dollar sign icon means there are pending items ready to send
- Inside the order sections the red back arrow button will take you back to the EZ Dine control center. All open orders will be saved and listed inside the ordering sections
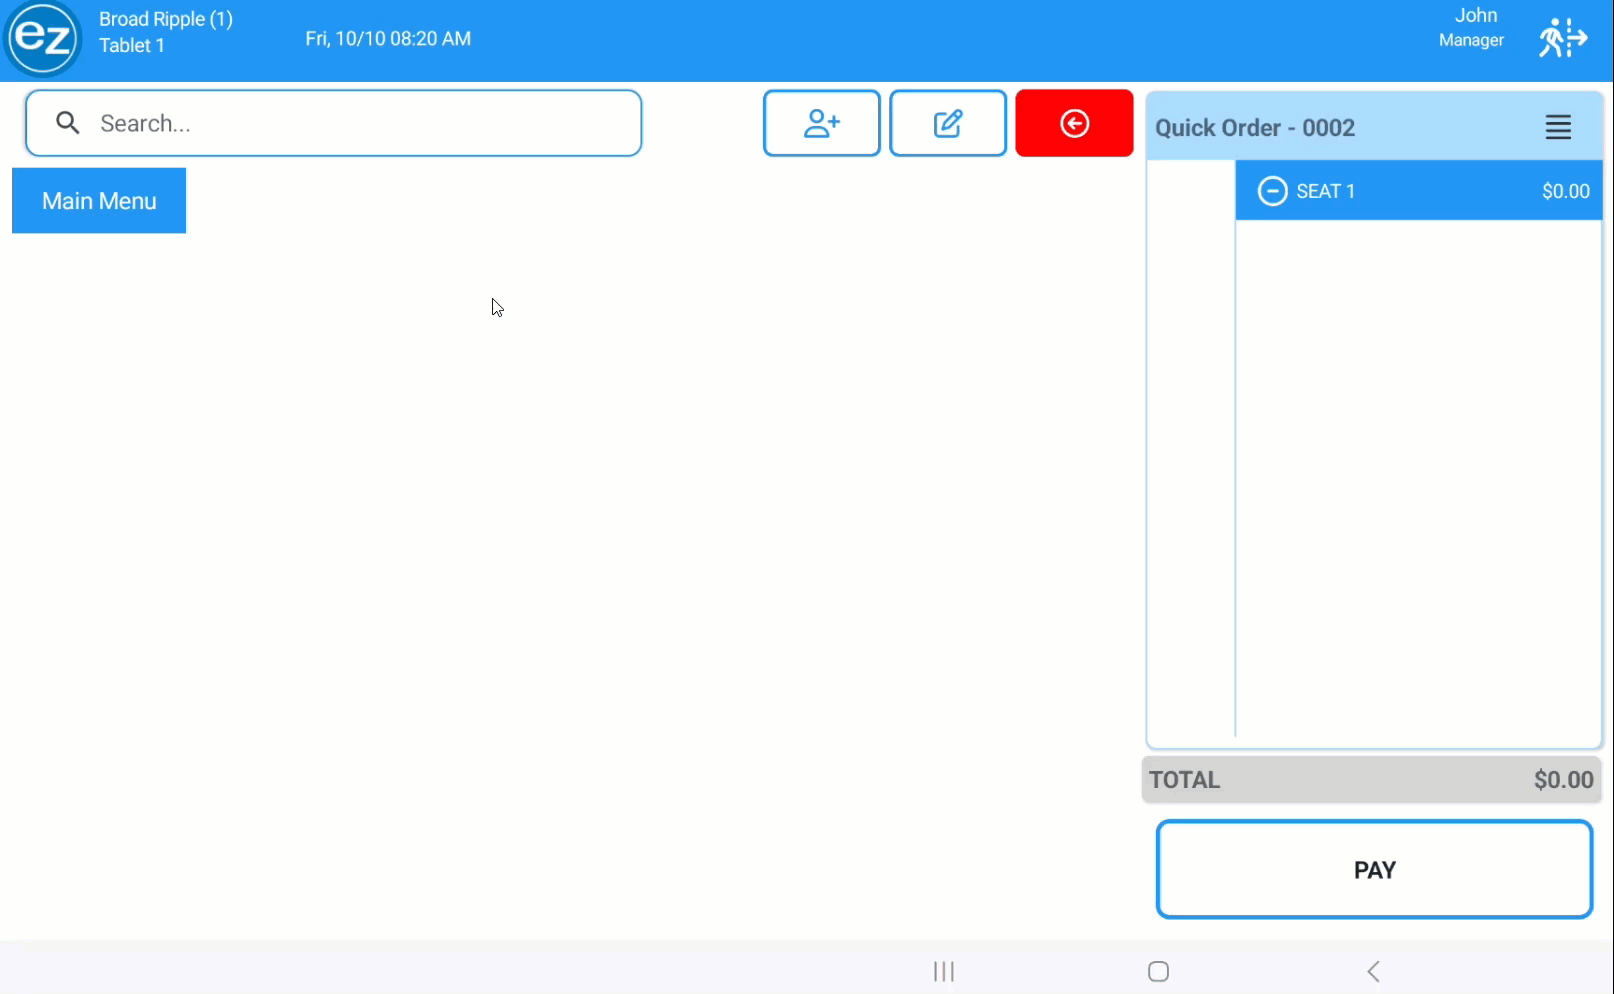
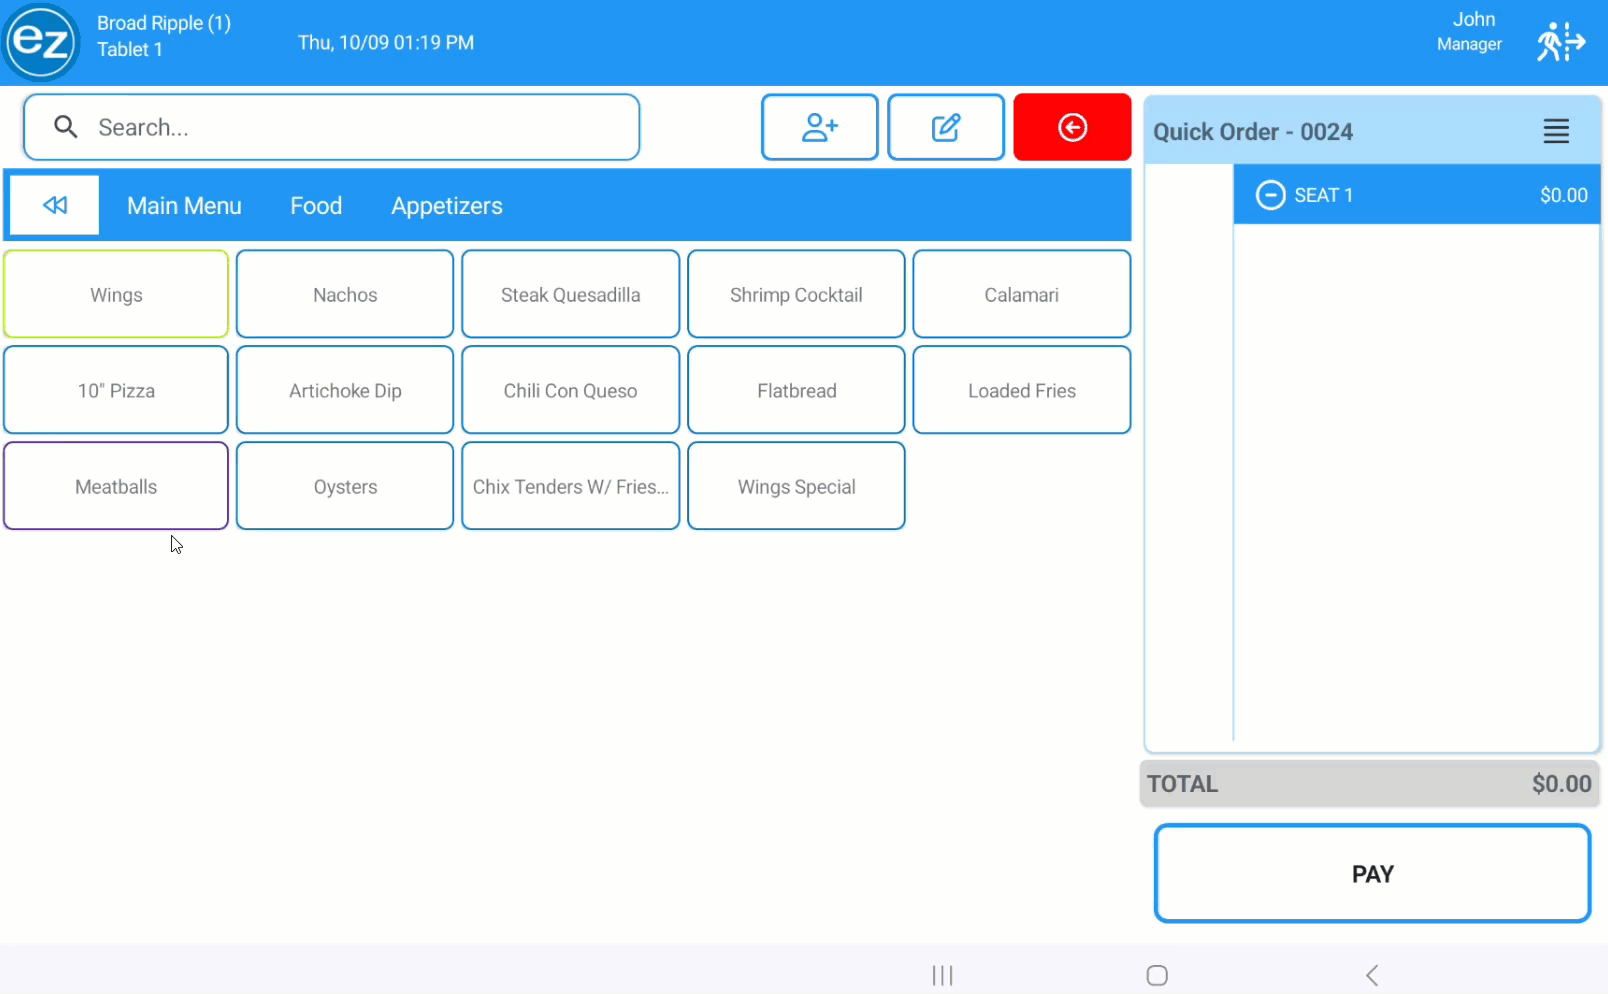
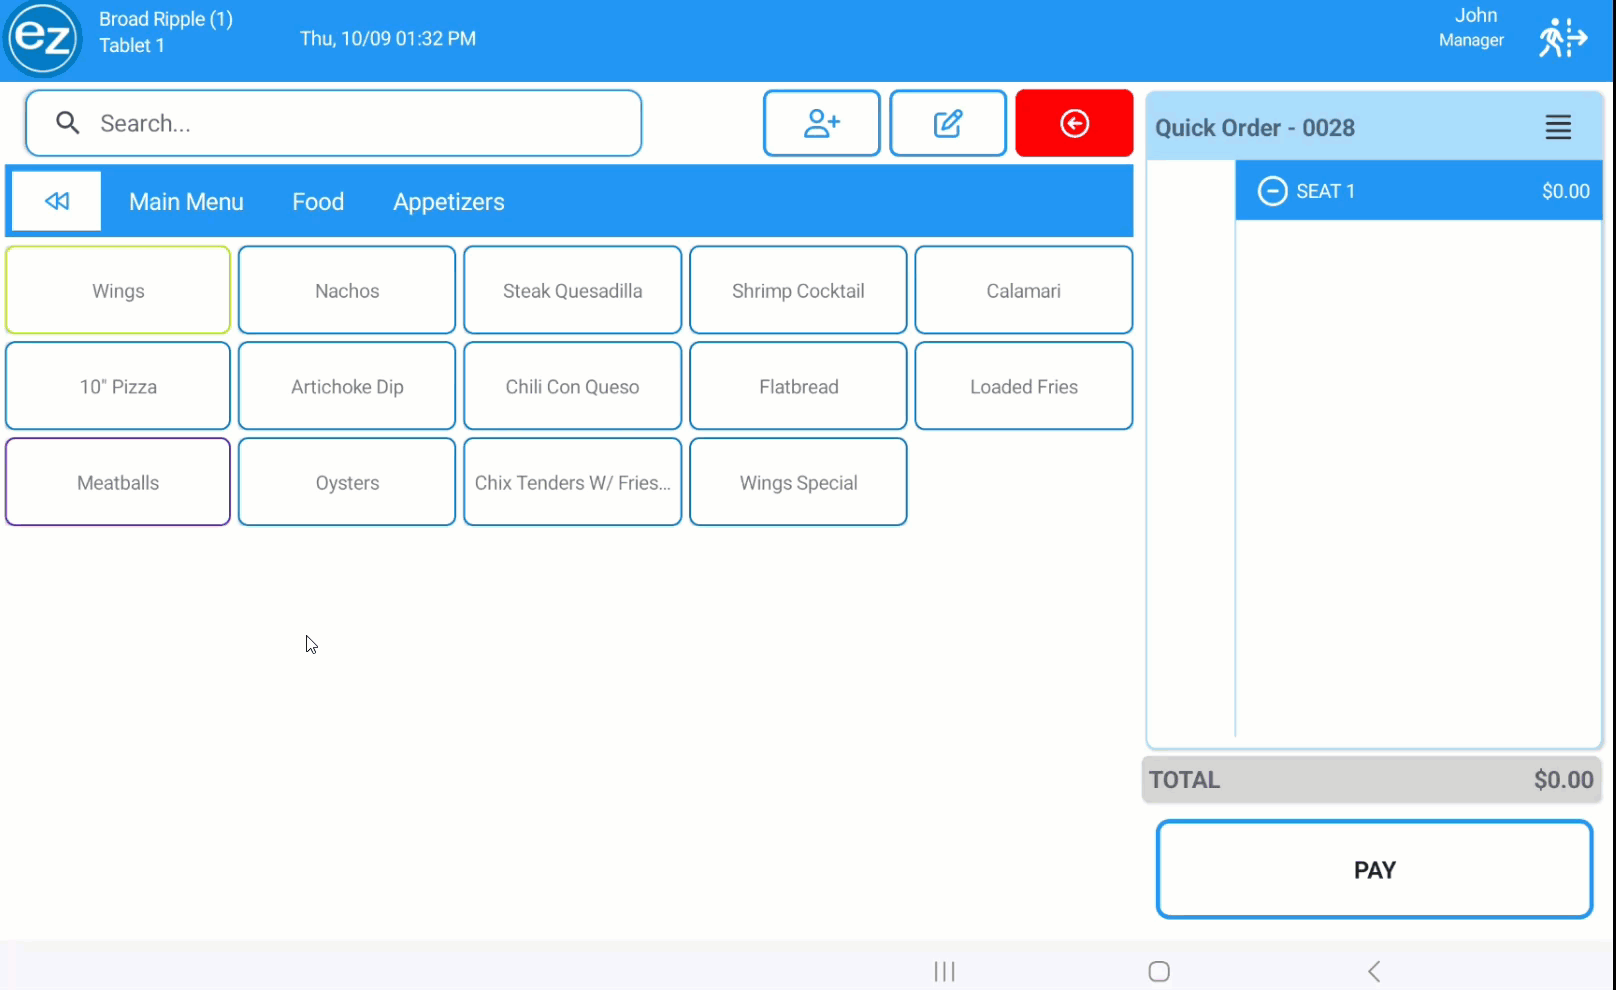
Step 2: Entering Items
- Once the order is started an empty ticket will be created to begin entering items for the order
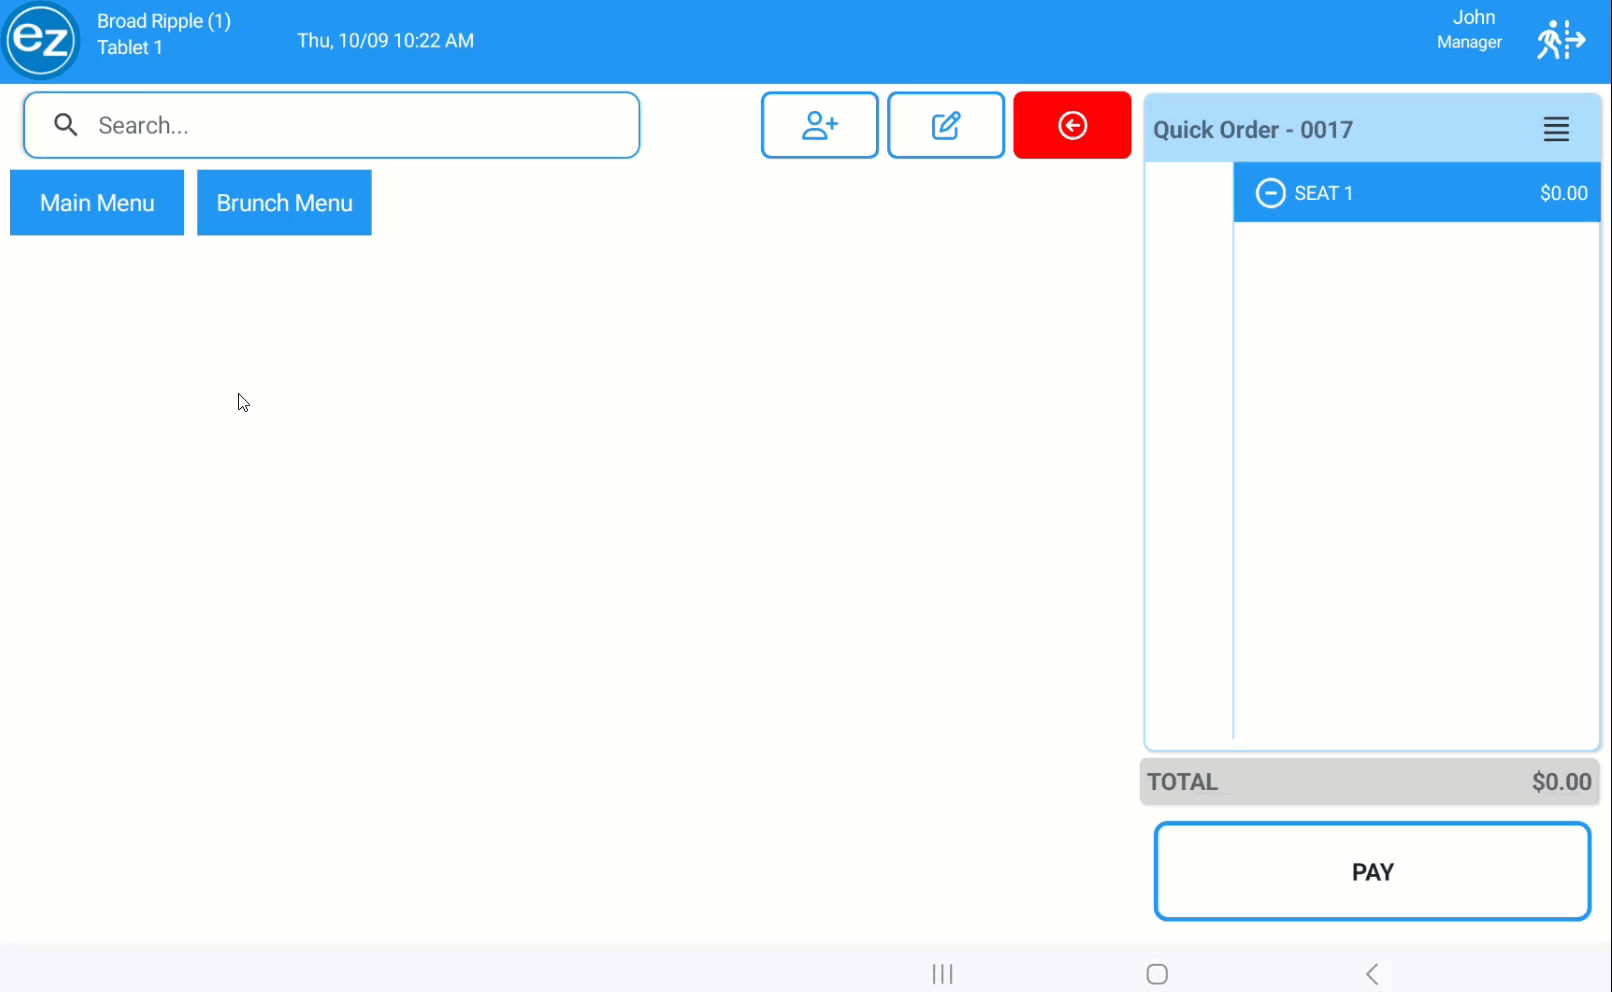
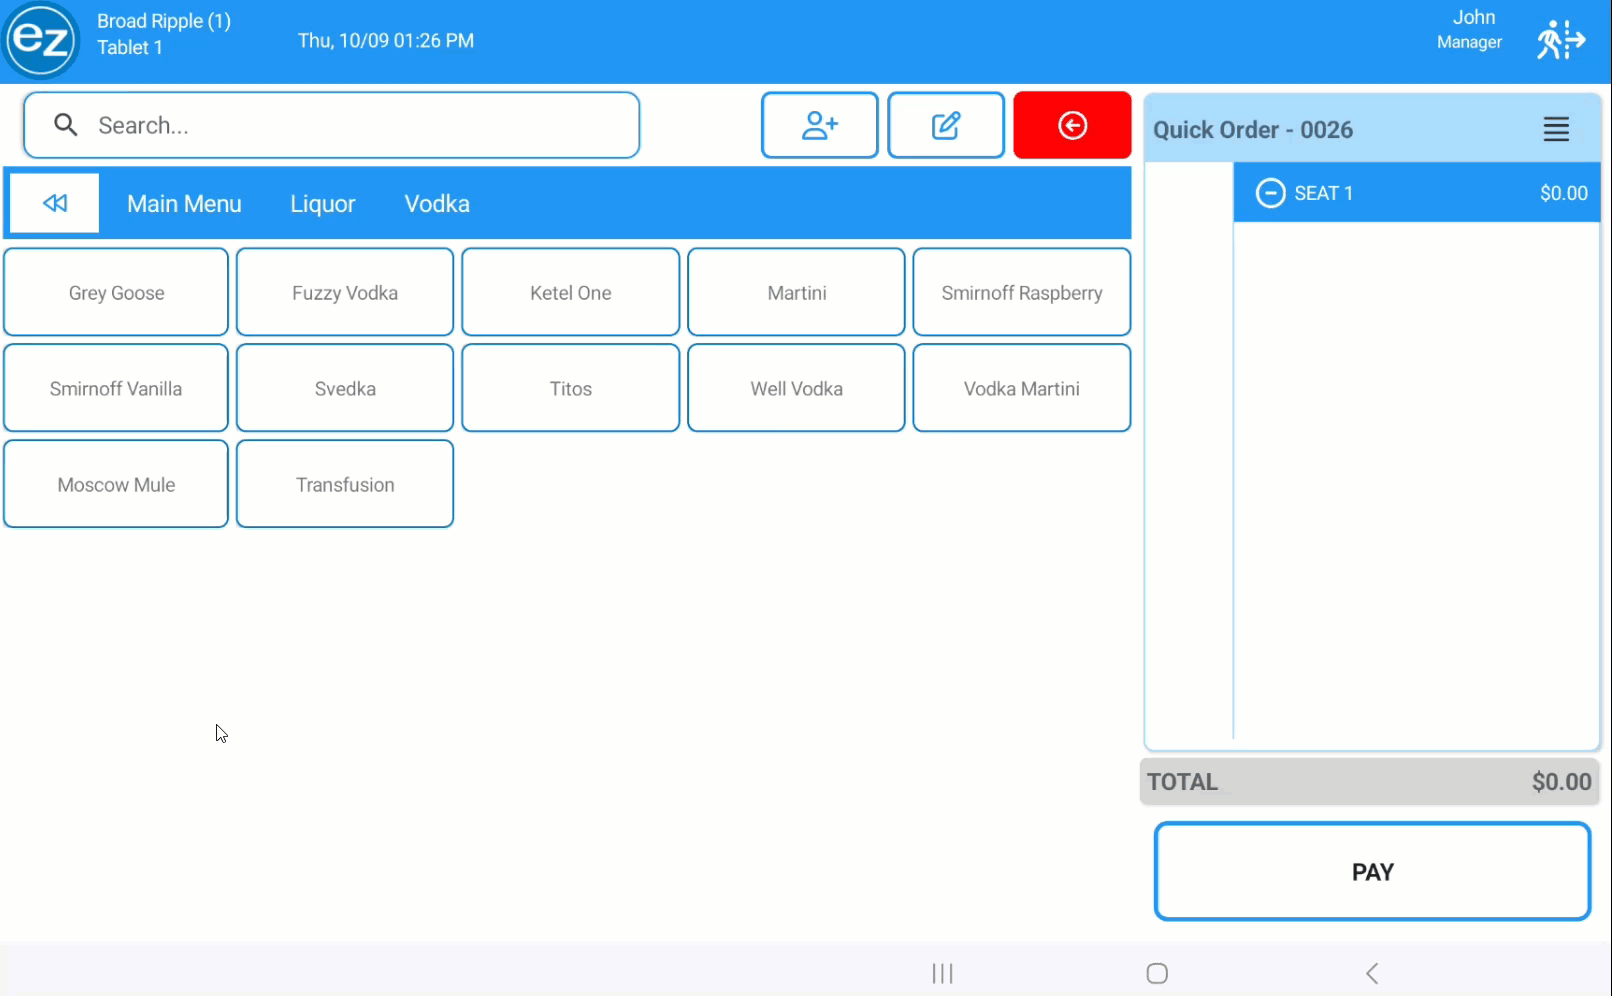
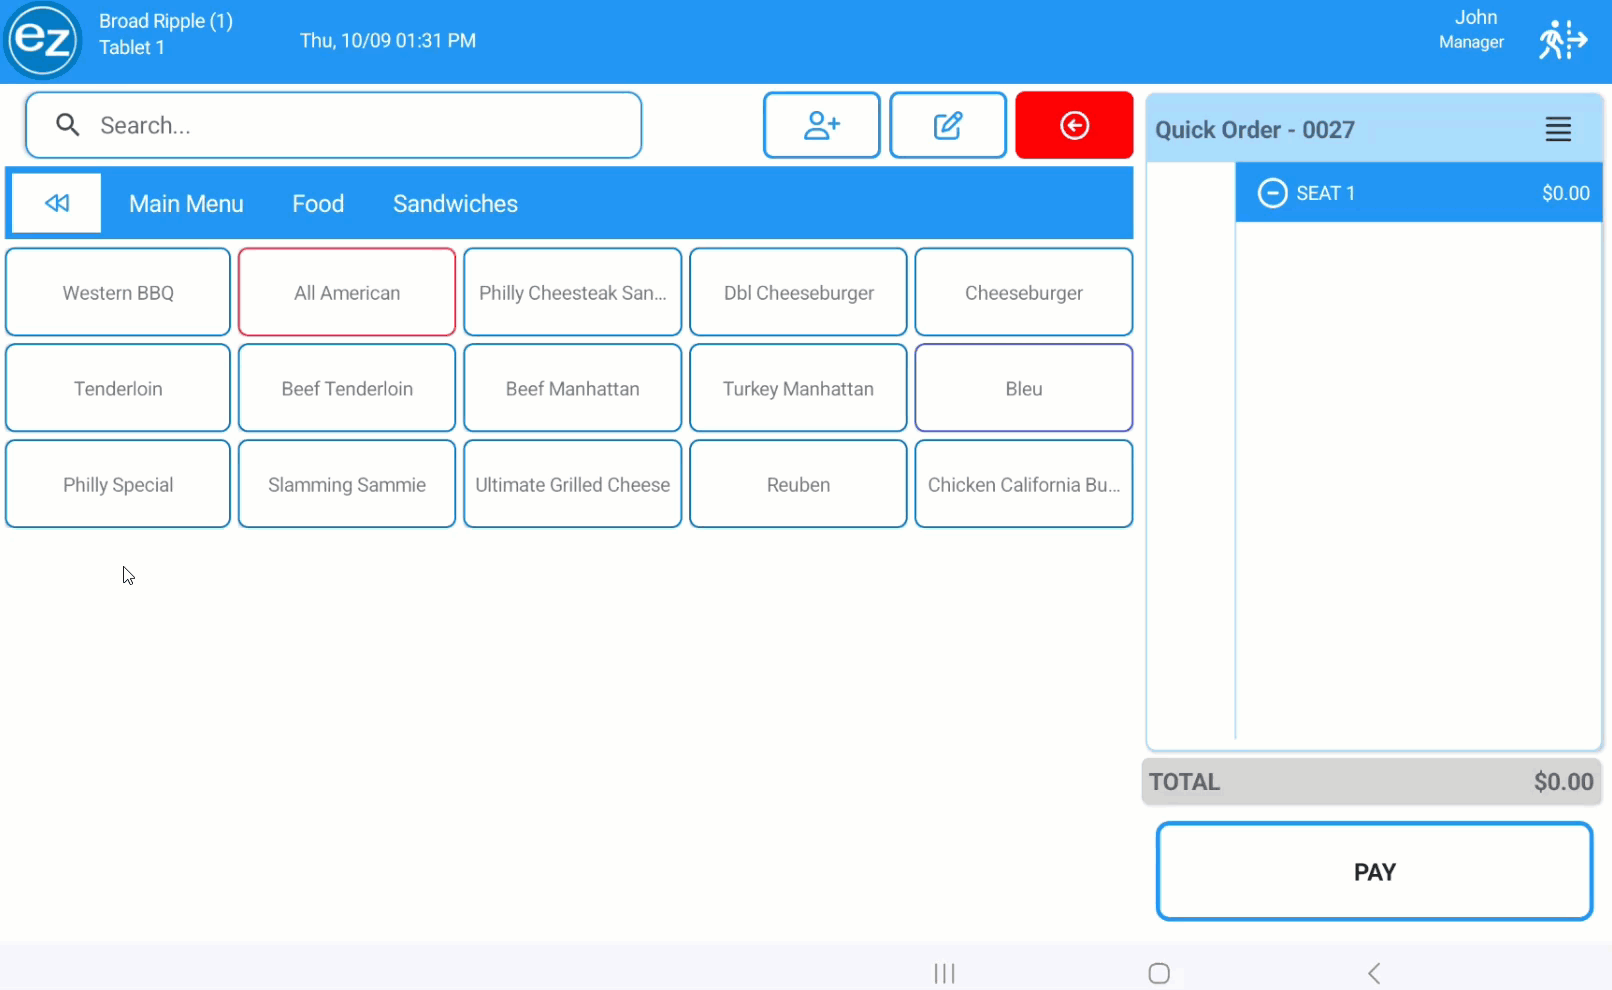
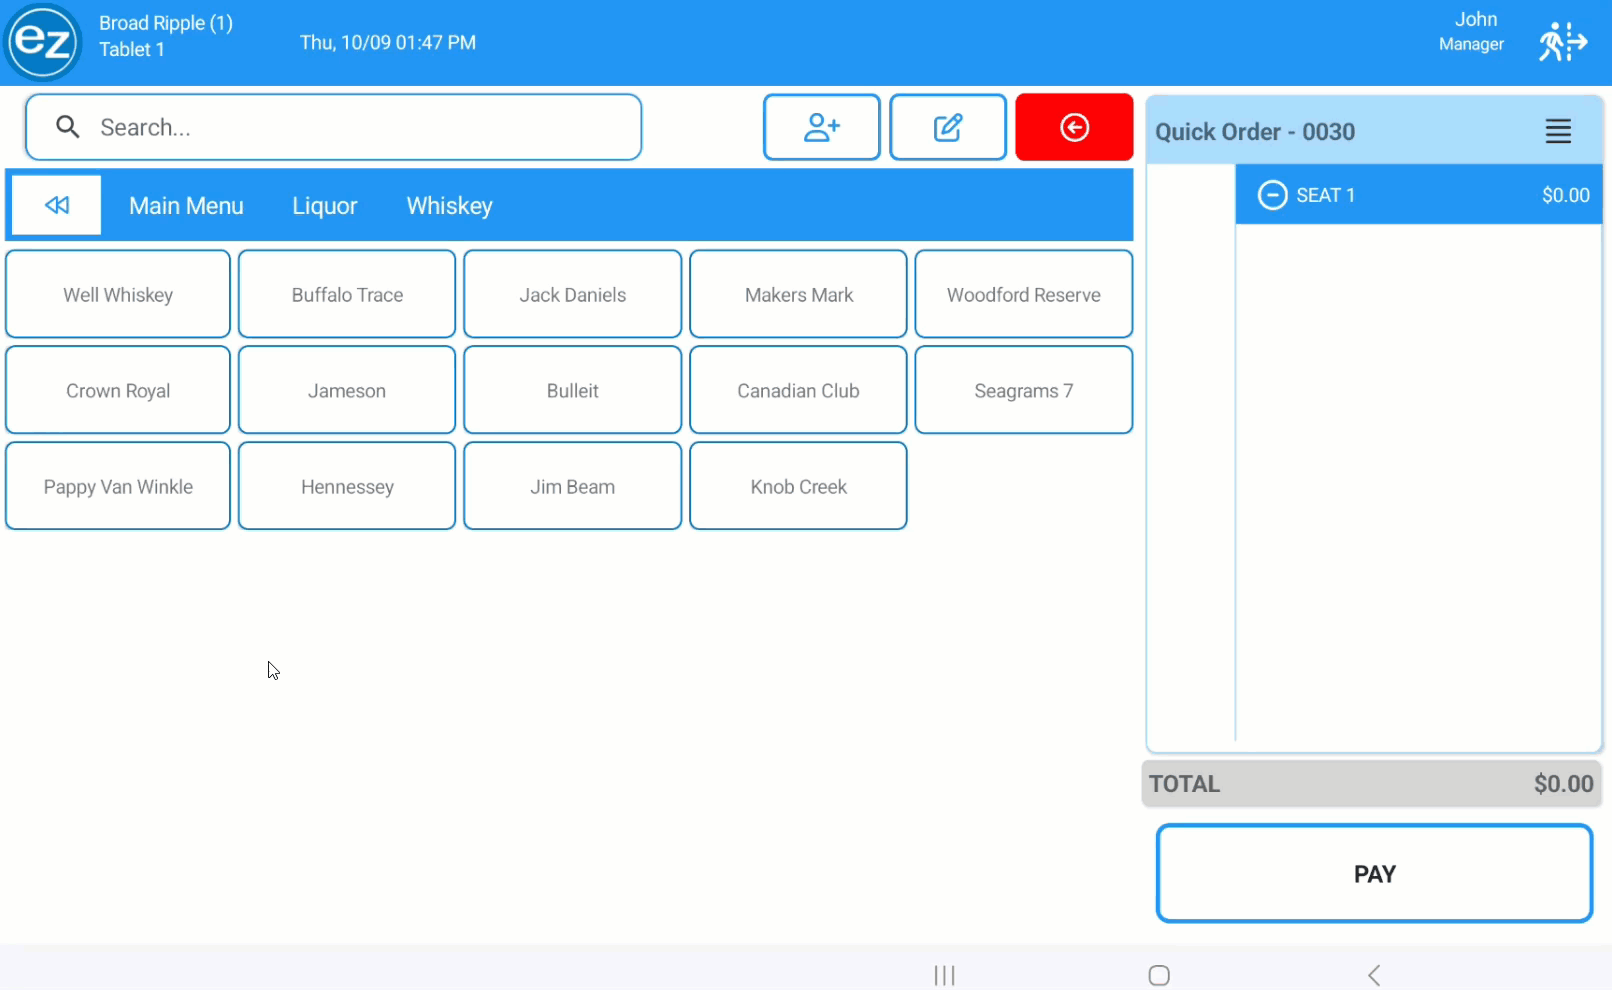
- The store menu will be shown listing the attached categories below
- Multiple menus can be setup on Studio per store and displayed on the EZ Dine app. Depending on the Studio menu configuration you will have the ability to setup menu visibility restrictions based on certain days and time
- Select a category and the items associated to the category will be listed
- The top menu header will update only displaying the current menu and category you are currently on
- Any categories setup on Studio with a color the menu header color will update to that categories color
- Navigating back to a previous category or the entire category list you can tap the category or menu name directly from the menu header
- For returning back to the menu selection tap the back arrows located in the left corner on the menu header
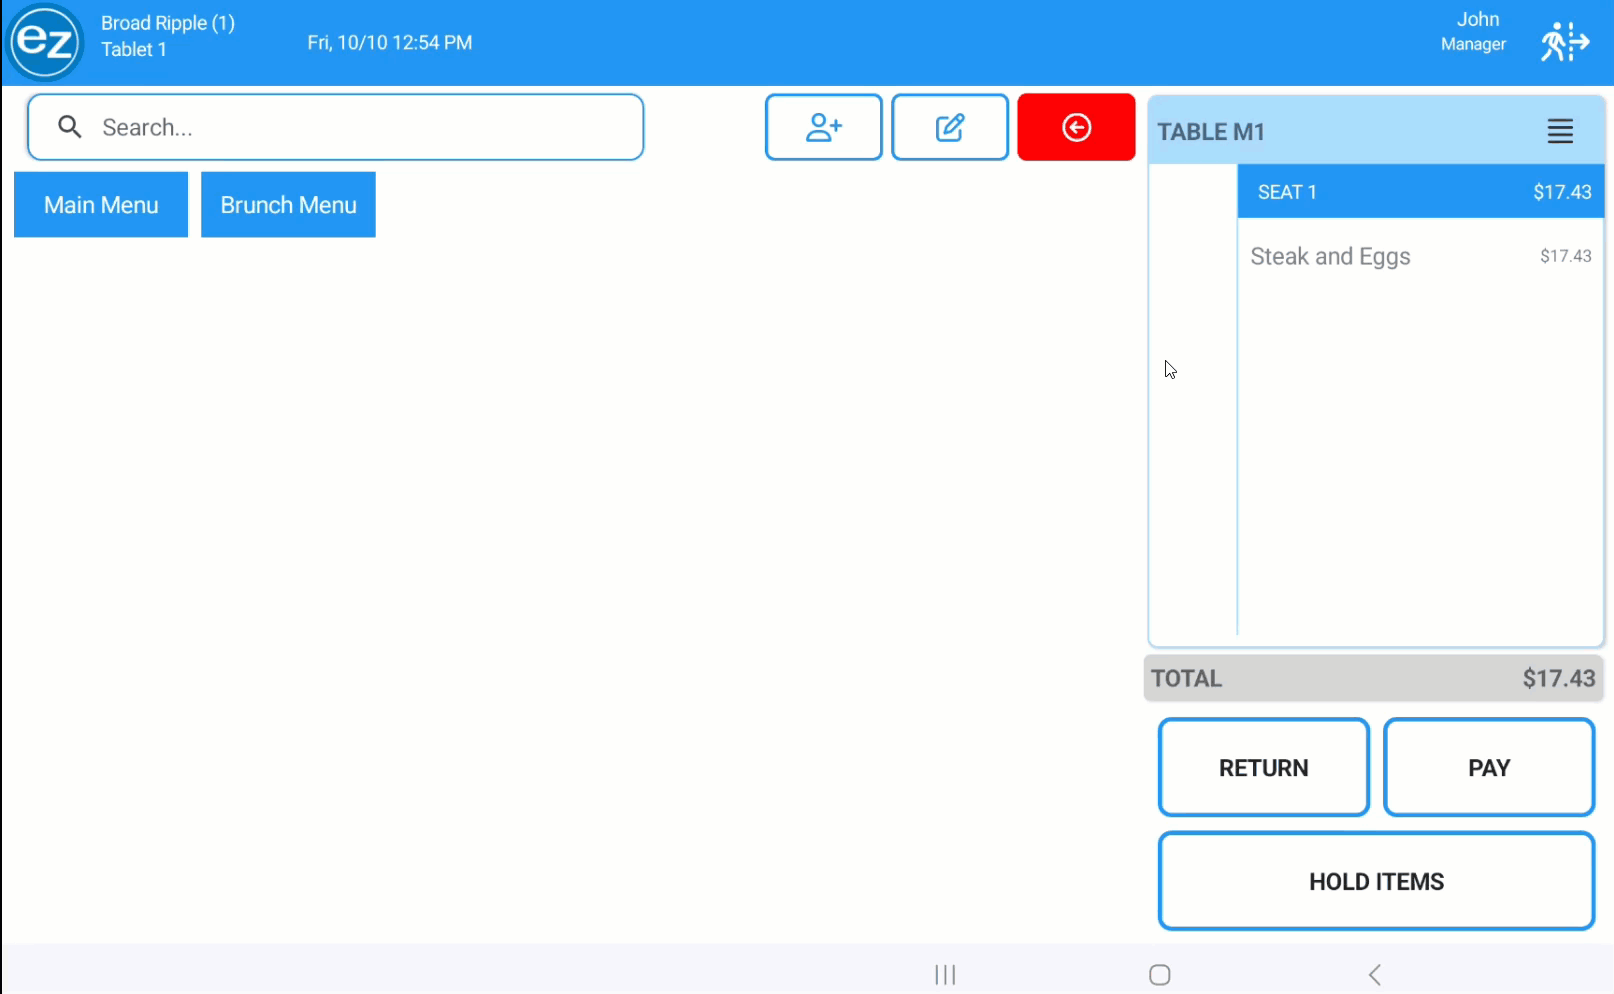
- Once the item is selected it will be listed by default under Seat 1 on the ticket form displaying the item name, price, and editing options
- The order total will be listed at the bottom of the ticket which will include the item subtotal and taxes of the order
- Selected items will be highlighted inside a blue background with green text. The green item text indicates those items have not been sent. Sending is required to complete the order for payment

Step 3: Item Search
- A quick way to find items on the menu can be done by using the item search feature
- The item search bar will be located above the menu tabs
- Enter the first three letters of the item name and a list of results will be shown
- Select the item and the menu will automatically navigate to the category and enter the item on the order
- Items with any required addons or modifiers selections will display those options first before entry
- Any items part of a restricted menus will display a message indicating the item cannot be selected at this time
Step 4: Manual Entry Open Item
- Items setup on Studio as manual entry will allow the option to enter a custom price and name for the menu item to use
- Select the open menu item and the manual entry input window will be shown
- Use the number keypad to enter in the item price amount
- The created Studio item name will be used by default with an option to update the open item name as needed
- Press the change item name text field and an on screen keyboard will be displayed
- Enter the name and tap done on the keyboard. The item name and price will now be listed on the order ticket form
- The manual entry item name and price will be used on the kitchen ticket, customer receipts, and all areas of reporting

Step 5: Entering Items with Tax Included
For detailed instructions on setting up menu items with the tax included please reference the Studio articles found here
Menu Management
- Items configured with tax included will list the in store price of the item setup on Studio
- The real item price subtotal and tax amounts will be displayed on the printed receipts
- From the example a $3 item price with a 9% tax rate. The real item price of $2.75 and tax of $.25 to equal the $3 price point will be listed on the receipts
Step 6: Entering Items with Add On Groups
- Items setup with add on groups will be a required selection as soon as the item is entered. These options are typically drink portions that offer different price points per size. You can have only one add on selected per item
- Item add on options will be automatically displayed below the item category list
- The Studio add on group name will be listed inside a red background with the add on options
- Once selected add ons will be listed directly underneath the item with any additional upcharges displayed in parenthesis
- Closing the add on selection can be done by navigating to a different item or category from the menu
Step 7: Entering Modifiers with Add On Groups
- Modifiers can be setup with add on groups to provide additional selection options
- Two common examples are portions and order prep instructions
- Portions setup for pizza topping modifiers that will list the portion size and charges relating to the portion size selected
- Common prep instruction examples might be things like light, on the side, extra, only
- Modifier add ons will be listed inside a red background below the modifier group list
- Once the add on is selected the list will be removed and the add on will be associated to the modifier
- There can only be one add on selection per individual modifier at a time
- Modifier add ons will not be a required selection
Portions

Instructions
Step 8: Entering Items with Modifiers
- Items selected with modifiers will have an automatic or manual option for displaying the modifier list
- Any modifier groups that have a minimum required selection will display the item modifications list automatically
- If there is no minimum requirement. Select the item and tap the tree structure icon from the edit item list view. The item modifications window will now be displayed
- The modifier groups will be shown in the order configured on Studio. Tap the modifier group section name and the modifiers assigned to the group will be displayed to the right. Selected modifiers will be listed in green below the modifier group section name
- Any modifier groups that have a min/max requirement will list the required selection amounts in the top right hand corner
- If a minimum selection is required the modifier group name will be denoted with an asterisk and Required in red
- Once the minimum selection conditions are met the Required asterisk and name will be removed
- Deselecting the modifier can be done by tapping the modifier selected inside the group. If the modifier group has any min/max requirements it will reset the settings based on the modifiers currently listed
- Additional modifier selections will be prevented once the requirements of the modifier group are completed
- Longer modifier list you will be able to scroll up/down to navigate the entire list
- Modifiers that are not tied to any specific modifier group will be shown towards the bottom of the modifier list. These will be the add/removes that come with the item
- The green plus sign will be an add modifier and the red minus sign will be a remove/no modifier
- For deselecting a No modifier select the green plus Add for the same modifier. Deselecting an Add modifier can be done by selecting the red minus for the same modifier
- Nested modifiers will display additional modifier options after the modifier is selected from inside the modifier group
- Some common examples of nested modifiers might be an additional prep choice after a protein is selected. Or having a dressings choice after a side salad modifier is selected
- When the modifier selections are completed you can tap the green Add tab in the top right hand corner to add the item to the order
- Any minimum requirement modifier groups that have not been selected you will see a Requirements Not Met display window that will prevent the item from being added to the order
- Cancel will close the item modifications window and return back to the menu item selection list
Manual
Modifier & Modifier Groups
Nested Modifier

Requirement Not Met
Step 9: Item Doubles
- Doubles are commonly used when setting up bar drinks offering the ability to add another price point for higher quantity pours
- Any items setup on Studio that uses the double button will display a double 2X icon from the edit item list view
- When selected the item name will append with DBL that will be printed on all receipts
- The item price will be updated reflecting the double price point being used
Back to top
Step 10: Item Recipes
- Items configured on Studio with internal instructions will have an option to display the item instruction directly from the order form
- Instructions are commonly used for recipes that will provide a list of ingredients needed to make the item
- These instructions are for internal use and will not be visible to the customer
- Tap the abbreviated T instruction message icon from the edit item list view to display the recipe details
- Press X in the top right hand corner to close the instruction form

Step 11: Editing Items before Sending
- Before items are sent there will be a few different options for editing items
- Selected items will display a list of features fixed on the left hand side of the order ticket to choose from
- Item Quantity/Deleting: Adding quantity or deleting the item can be done by using the blue + icon for adding quantity. Or the red minus icon for deleting the item
- For larger quantity orders long pressing the + icon will prompt a quantity number keypad
- Enter the quantity amount and tap close on the number keypad. The item count and price will be updated on the order. Note: Since the initially quantity entered for the item is always one. Entering a quantity of ten you would enter a quantity amount of nine on the number keypad
- Item Special Instructions: Item instructions can be added by selecting the blue edit pencil icon
- Any pre configured instruction reasons setup on Studio will be listed. Multiple instructions can be chosen and entered at the same time
- Custom instructions reasons can be created by tapping the enter instructions here line. An onscreen keyboard will be shown where you can type in the instructions. Press Ok and the item special instructions will now be listed in red underneath the item
- Moving Items: When using multiple seats you can move items between seats before or after the items have been sent
- Press the vertical arrow icon to display the move item to seat window. The seat number will be listed where you can select which seat to move the item to. Only one seat selection can be made at a time
- Order Instructions: Applying an order instruction for all the items on the order can be done by selecting the blue edit pencil icon located between the add seat and red back arrow tabs at the top left of the order ticket. This will be the same instruction list used for items
- Select order instruction and the instruction window will be displayed. Enter the instruction and Ok
- The order instruction entered will be listed in red text above the order name appended with NOTE:
- Once the order is sent the order instruction will be shown below the date/time on the kitchen ticket
Item Quantity
Special Instructions

Move Items

Order Instructions
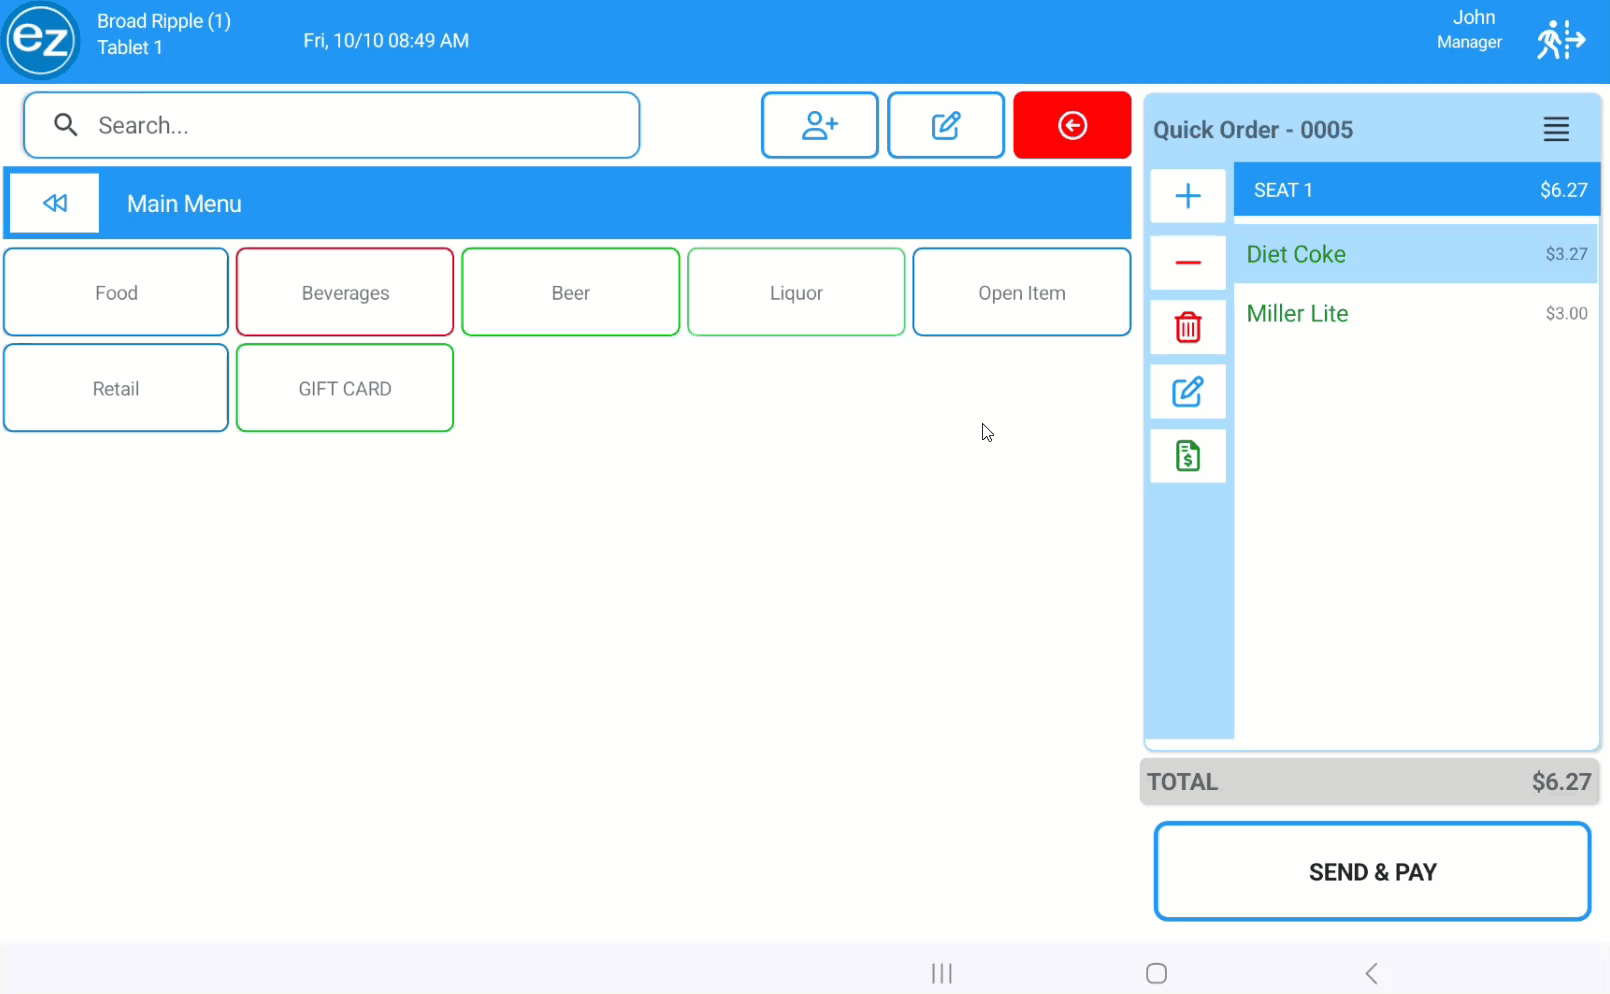
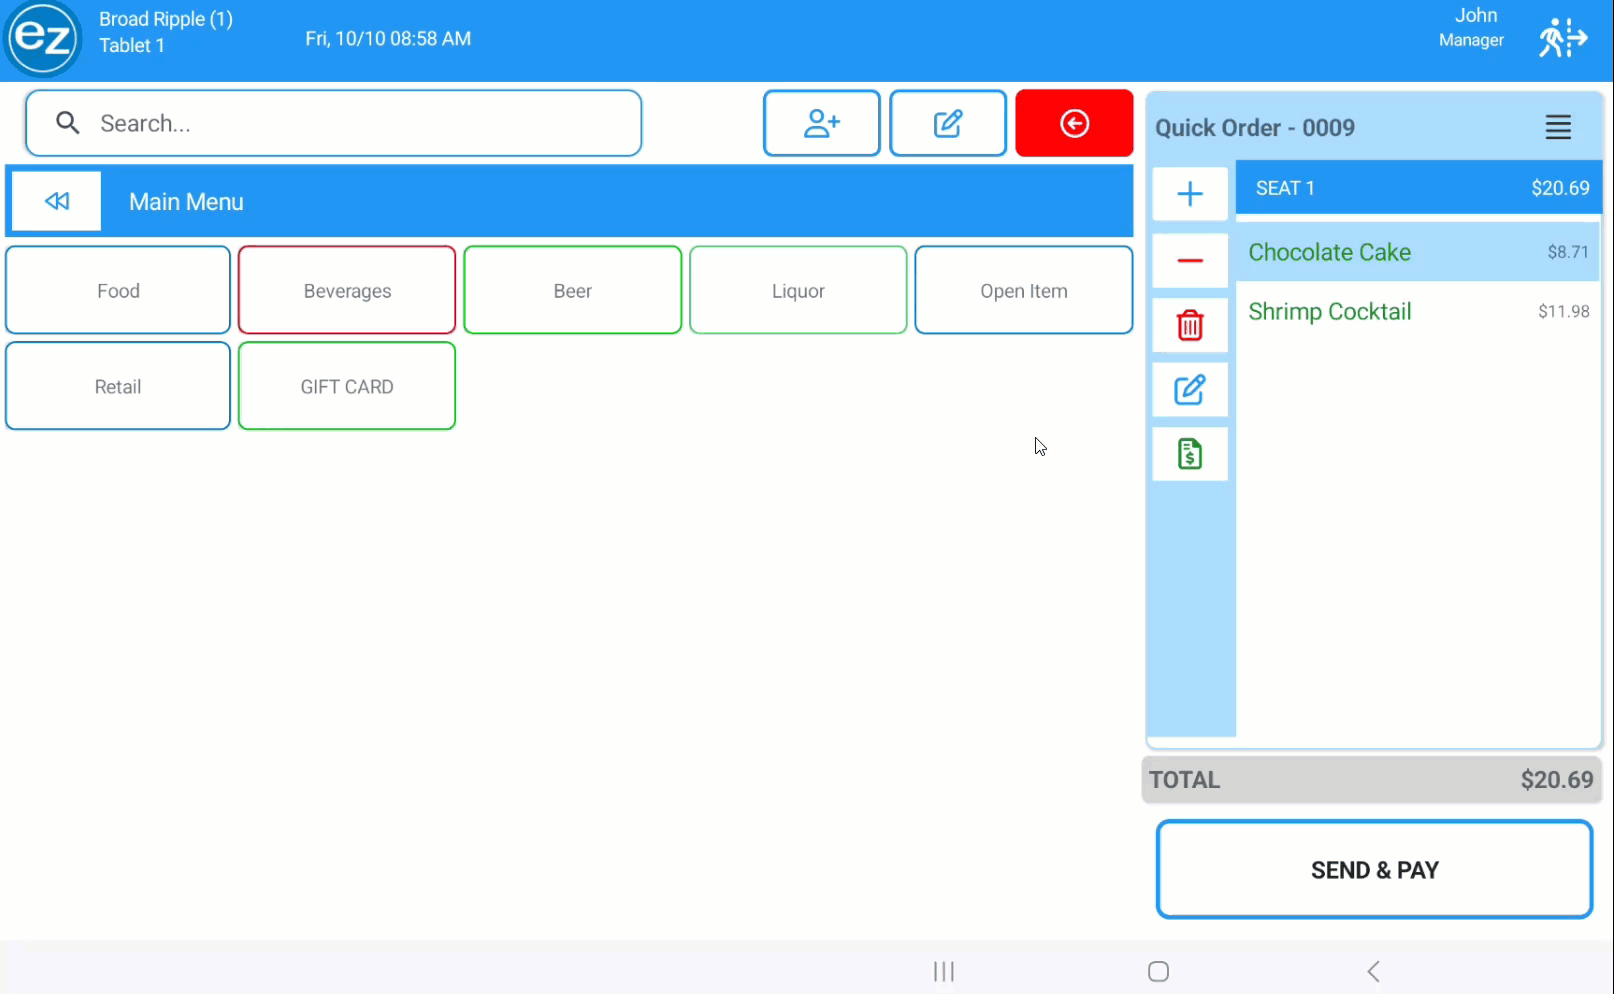
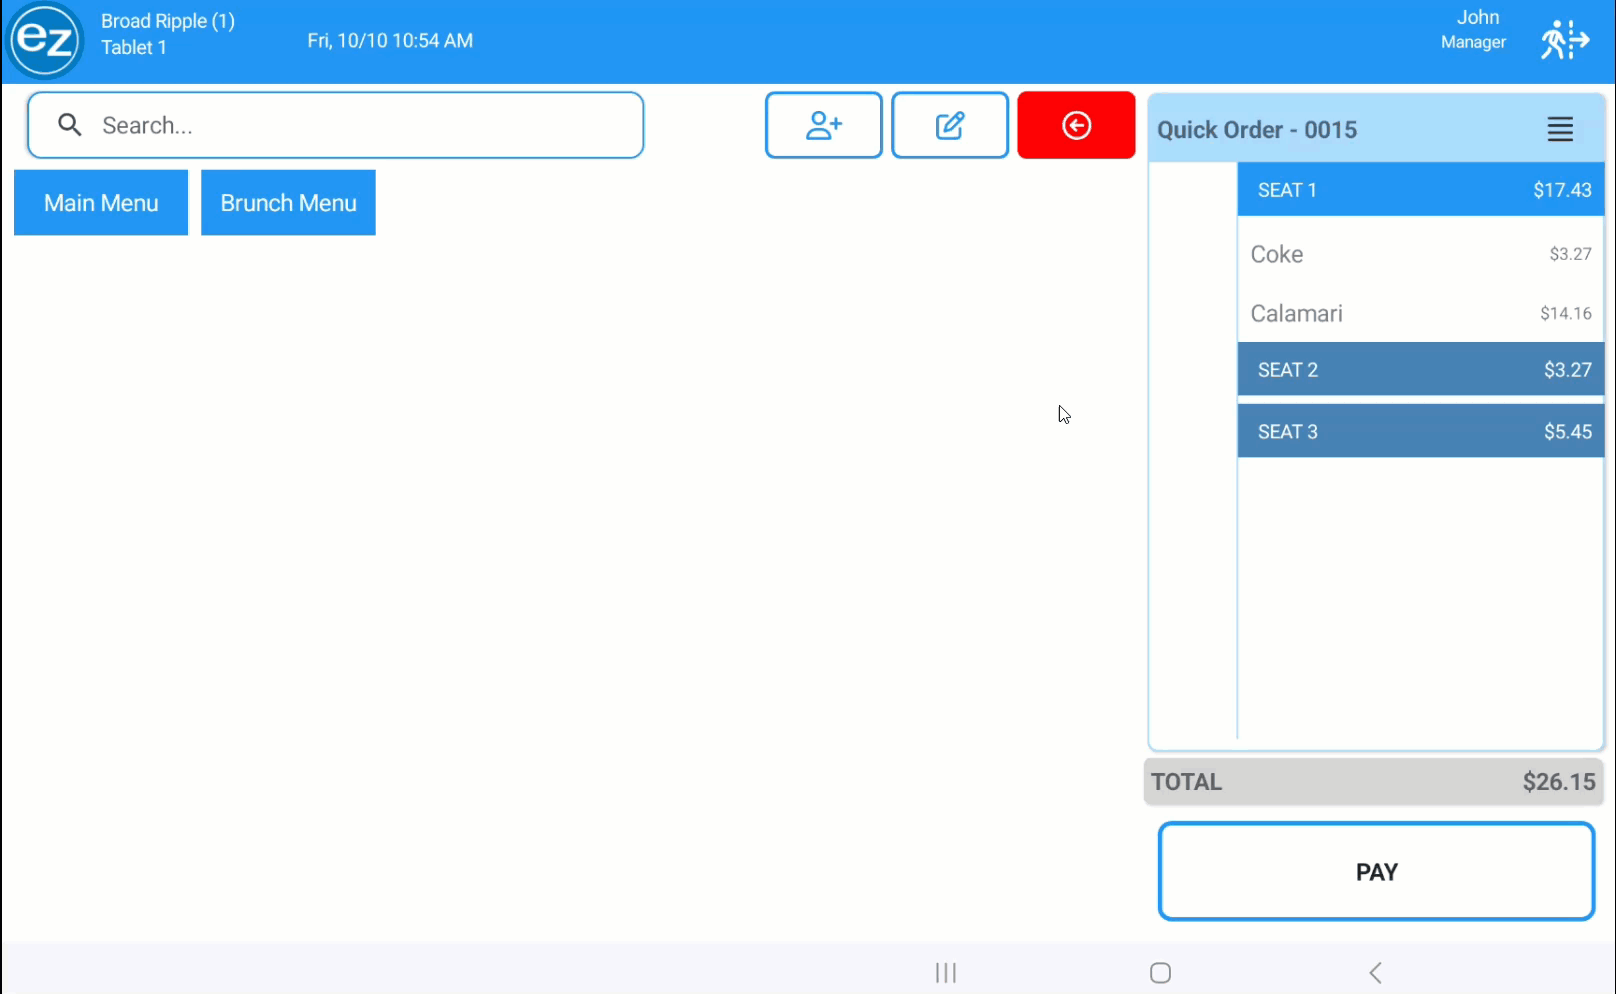
Step 12: Sending Items on the Order
- Once the order is ready to be completed you would tap the relevant send navigation options
- Depending on the send option used you could either be directed to the payment or ordering pages automatically after sending
- After the order has been sent the items will print to any designated remote printers configured on the menu categories and items on Studio
- Sent orders will be displayed with a green dollar sign icon on the right hand side indicating the order has been sent successfully
- Sent items name text will change from green to gray color after being sent
- The send and send & pay button options will update to return and pay
Step 13: Editing Items after Sending
- After items are sent you will have options to repeat, move, split, discount, comp and void the item
- Select the item to display the edit item list view
- The options to delete or add a special instruction will be grayed out since the item has been sent
- Repeat Item: Repeating an already sent item can be done by selecting the blue plus icon. If the item has any add ons or modifiers associated those will be repeated along with the item
- Splitting Items: Item will be evenly divided by the item price and the number of seats selected
- Tap the divergent arrows icon and the split item seat window will be displayed. Select the number of seats to split the item between
- The item will be moved automatically to those seats with spilt price and number of ways split listed on each seat
- Un-splitting an item can be done by moving the split item back to the original seat for the price to reflect correctly
- Item Discounts/Comps: The green dollar sign icon can be used for applying discounts or comps
- Item Voids: The red trash can icon can be used for voiding the item. This will prompt the void reason list configured on Studio
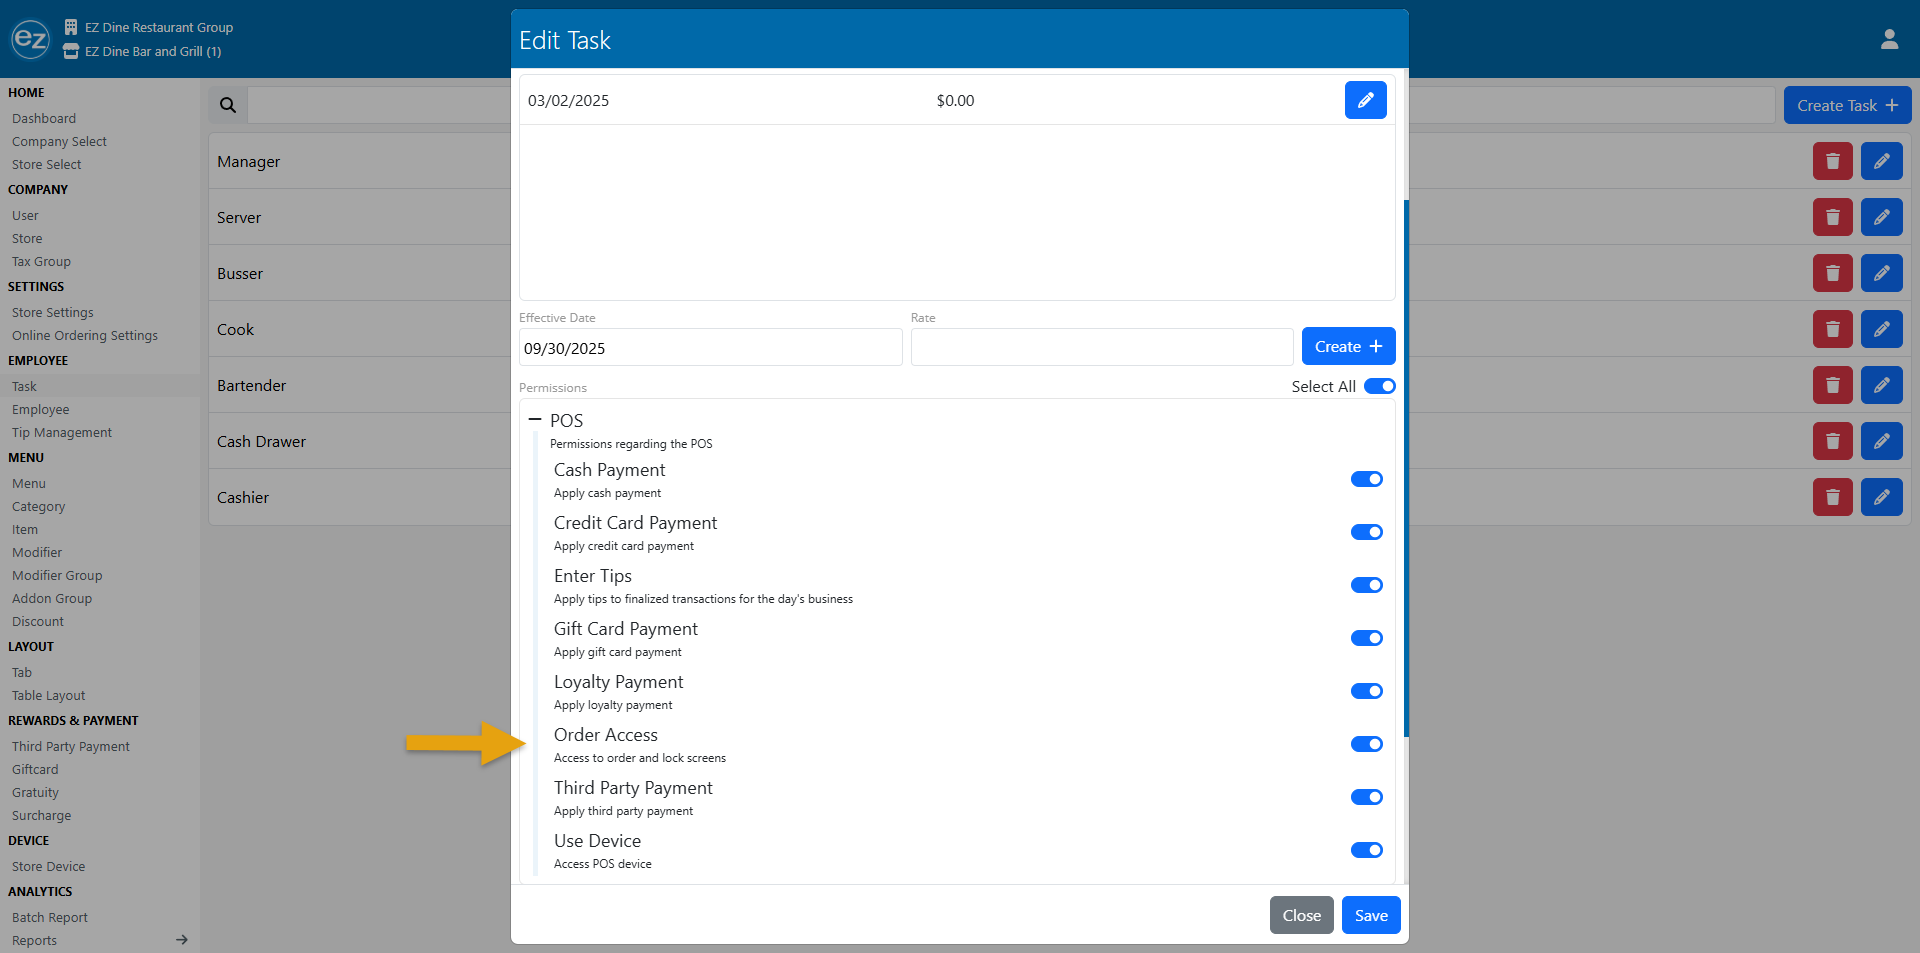
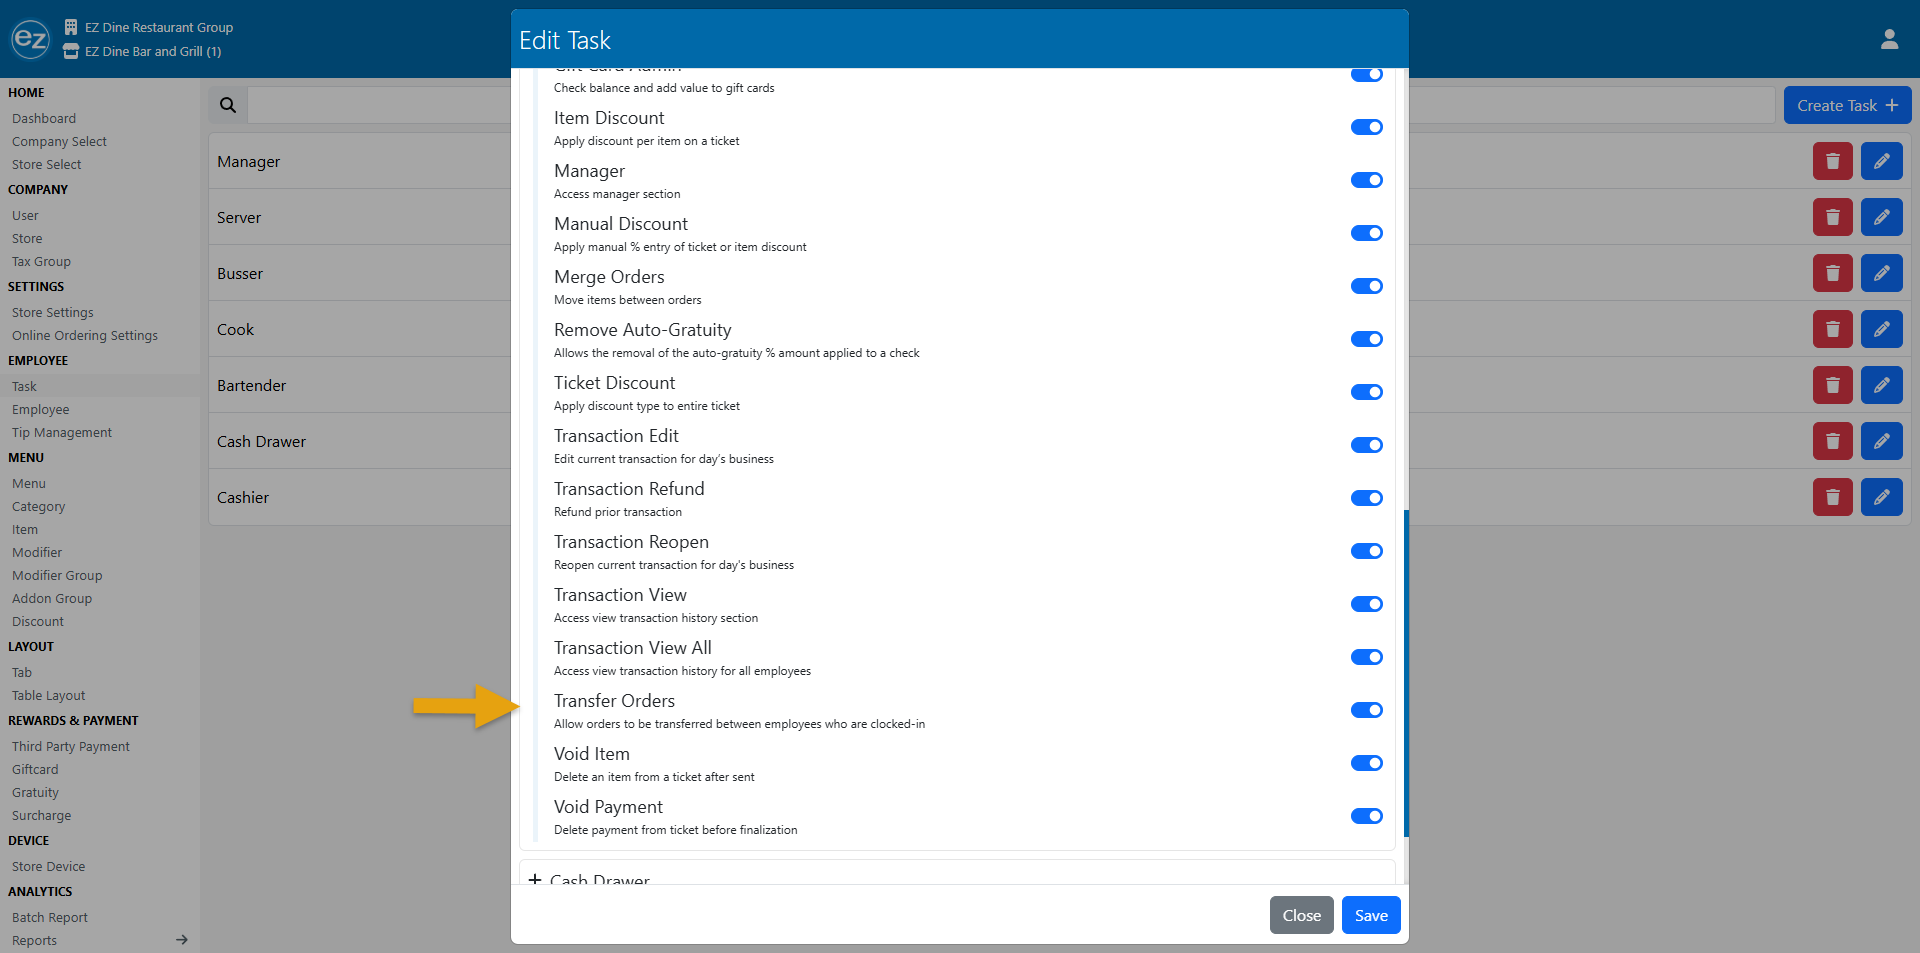
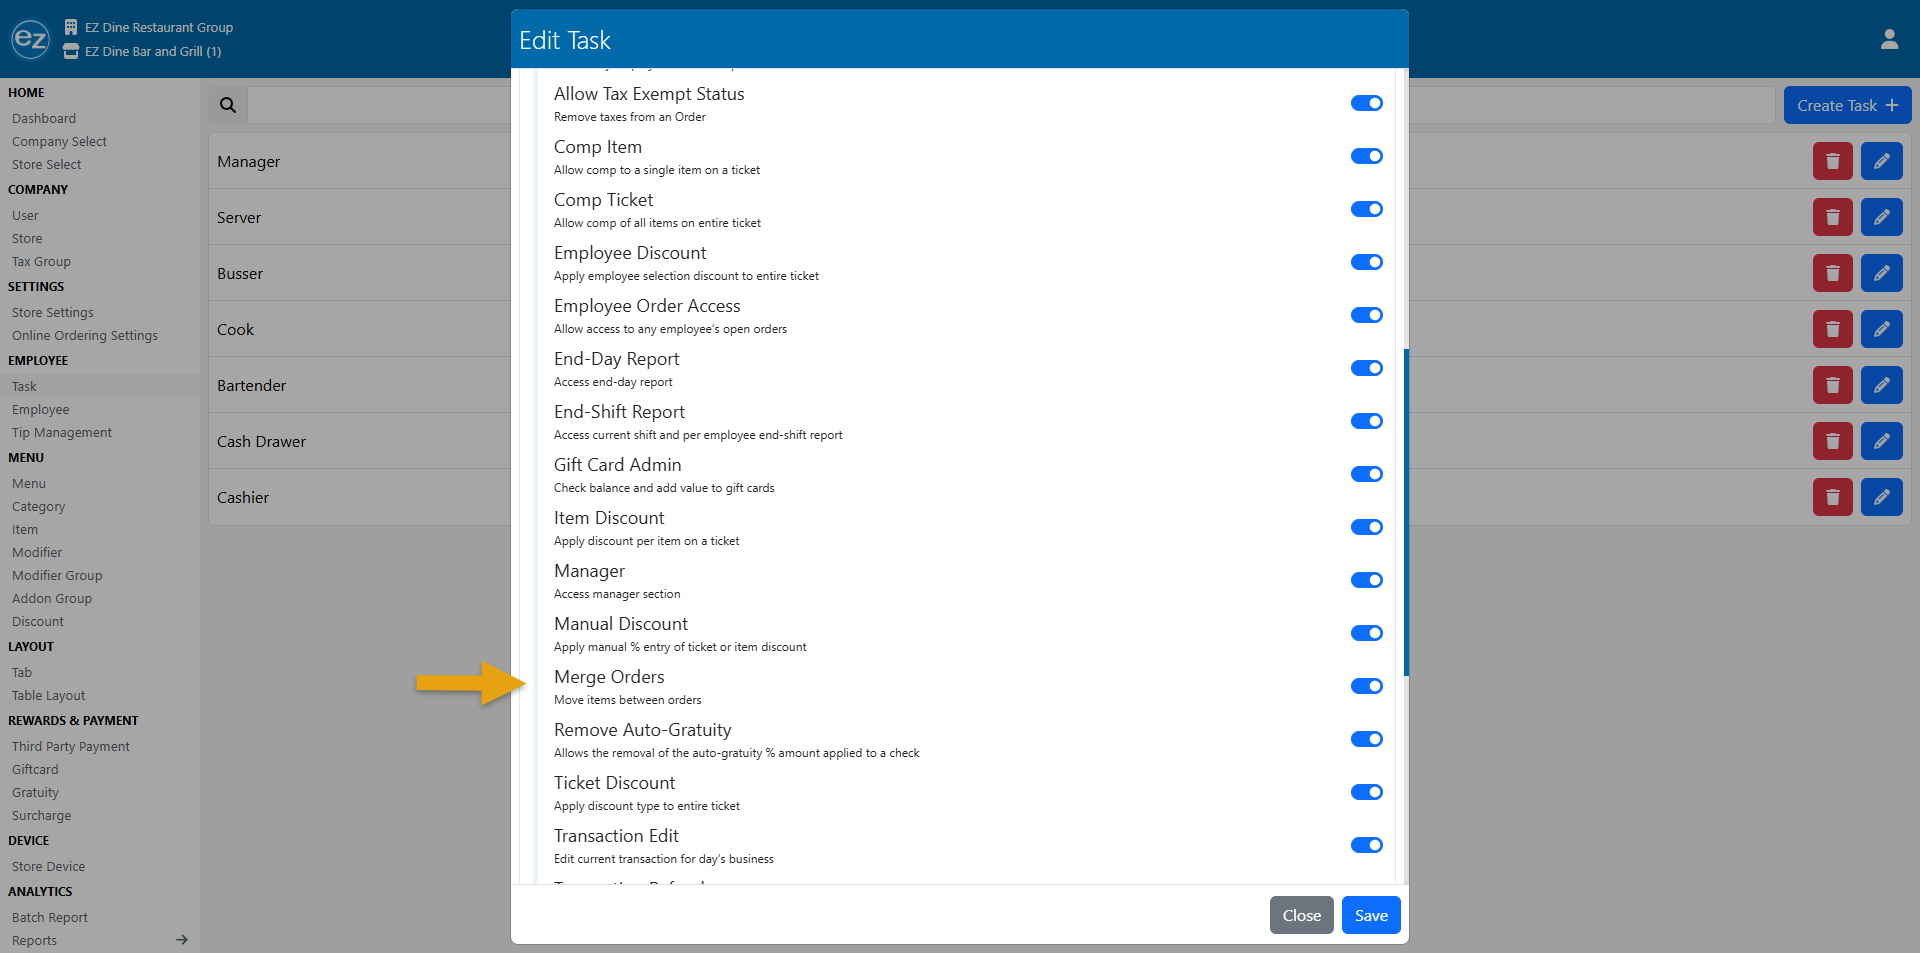
- The discount, comp, and void options will require the necessary employee permissions and setup to be configured on Studio beforehand

Repeat Item
Split Item
For detailed instructions on discounts, comps, and voids setup please reference the Studio articles found here
Studio Discount Setup
Studio Comp Setup
Studio Void Reason Setup

Employee permissions will be needed to apply item discounts, comps, and voids

Step 14: Item Discounts
- Select the green money icon from the edit item view list. The price modification window will be displayed
- You will have the option to select any preconfigured discounts or enter a manual discount
- Preconfigured discounts will be any category and item discounts setup on Studio. Select the discount name and tap apply and close
- The discount name and type selected will now be shown below the item
- For manual discounts select the manual discount type from the price modifications window
- Enter the name and percentage or dollar amount value for the manual discount. Tap apply and close and the discount will be created and listed below the item
- Removing the discount follow the same steps prior and simply deselect the discount highlighted and apply and close. The discount will no longer be listed under the item
- Any discounts configured on Studio to auto apply will automatically apply the discount once the item is rang in
Preconfigured Item Discount

Manual Item Discount

Automatic Item Discount
Step 15: Item Comps
- Select the green money icon and the price modification window will be displayed
- Comp reasons that have been preconfigured on Studio will be shown. Select the comp reason and then close
- The comp reason will be listed under the item and an item price of zero will be listed in parenthesis

Step 16: Item Voids
- Select the red trash icon and the void reason list will be displayed. You can scroll up/down the void reason window to see all the reasons listed
- Choose the appropriate void reason and press Ok
- The item name will now be listed with green text with a strikethrough and price changed to zero
- The send button will become enabled. Sending will be required in order to update the item status of the void. Once sent a voided item ticket will be sent back to the remote printers setup on Studio
- If there is an existing payment applied to the order then voiding the item will be prohibited
- The void alert message window will be displayed indicating to void the payment first before continuing

Item Void

Void Alert
Step 17: Adding Seats
- Select the guest + icon on the top left of the ticket form. This will create additional seats on the order for organizing items when sent to the kitchen or splitting payments
- Adding seats can be done from any ordering tab type
- The seat numbers will be added in numerical order
- Each seat can be accessed by selecting the seat number heading row
- When the seat number header is listed in blue that indicates the current seat you will be on
- The order details on the other seats will be minimized while on the current seat number
- Deleting the seat can be done by selecting the minus icon to the left of the seat number
- Once items are entered under the seat the delete seat option will become hidden. In order to delete the seat after items are entered you would need to move, delete, or void the items from the seat
- When the seat becomes empty you will see the delete seat option displayed again
Step 18: Manager/Employee Override
- Employees without permissions required to perform certain tasks will need to request for manager/employee approval with those permissions enabled
- The permission override window will be displayed listing the required permission unavailable to the current employee
- Selecting yes will prompt the employee permission check window for approval. The manager/employee with access will enter their passcode and complete the steps needed to perform the task
- Selecting no will close out the permission override window and return back to the current page

Step 19: Transferring Orders
Studio employee transfer orders permission will be needed in order to transfer an order between employees
- From the menu/order page select the additional order options icon in the top right hand corner
- Tap the employee transfer option
- List of clocked in employees that have order access permission turned on will be shown
- Select the employee name from the employee transfer window and that order will be transferred to the new employee
- The employee name and color on the order ticket will be updated
- The top right heading employee name will list the current logged in employee into the device. That employee name will not change when the order is transferred
- Selecting cancel on the transfer order window will close the employee selections and return back to the menu/order page
Step 20: Merging Orders
Studio employee merge orders permission will be needed in order to merge two orders together
- Select the additional ordering options icon on the top right of the ticket and you will see a list of more ordering features
- Merge orders will combine any open order's items into the current order you are on. The open orders listed will need to have the items already sent on the order
- You will see inside each ordering tab section the open orders that can be merged. Only one order can be merged at a given time
- Select the order that is being merged and that order will now be highlighted in red
- The green merge button will be updated with the name of the order being merged
- Select merge and that order will be removed from the ordering page and those items added as a separate seat on the current order
- Any orders that have held items or payments will be prevented from being merged. Orders with held items will be displayed with a red border. Orders with payments attached will be shown with a green border
Merging Orders

Held Items/Payments
Step 21: Void Order
- Select the additional ordering options icon on the top right of the ticket and you will see a list of more ordering features
- Void order will void all the items on the ticket all at once and close out the order automatically
- The void item employee permission will be used for checking the ability to void the order
- Items that have already been sent will prompt the void reasons list. Select the reason and Ok
- If there is an existing payment on the order the void order option will be disabled for selection. The payment should be voided first prior to voiding the order

Step 22: Re-sending Orders
- Any instances where a duplicate kitchen ticket needs to be resent for the entire order again
- Select the additional ordering options icon
- You will have a new ordering option to Re-Send the entire order again
- The Re-Send option will only be visible if all the items on the order have already been sent
- All items on the order will be resent again to the designated prep stations
- An EZ Dine app notification message will be displayed that the order has been sent to the kitchen
- The kitchen ticket will list in red on the header/footer DUPLICATE

Step 23: Auto-Gratuity
For detailed instructions on applying automatic gratuity to an order please reference the Studio articles found here
Studio Auto-Gratuity
- Based on the studio settings configured the auto gratuity percentage amount will automatically be added when creating an order meeting the required guest amount
- Adding separate seats equal to the guest number to any tab order type will apply the auto gratuity percentage amount
- Additional ordering options will also list an apply auto gratuity selection. This will allow the ability to add auto gratuity to any order without using the seat/guest number setting
- The auto gratuity amount will be based on the order grand total (subtotal + taxes)
- The auto gratuity amount will be listed on the bottom of the ticket form on the payment page
- When printing the customer check the auto gratuity amount will be shown and included on the seat and order total amount due. This means any payment method selected will have the auto gratuity automatically applied
- The auto-gratuity amount will also be shown as a separate line item on the finalized and credit card receipts
- Running the end-shift, end-day, or Studio system financial reports will list the auto gratuity amounts as a service charge
- Studio labor reports timesheet summary and details will have an auto gratuity column. The gratuity total will be calculated for each employee per shift
Additional Resources and Help!
Still have questions? Please contact us any time at support@ezsoftpos.com.
NOTE: If emailing, please include your business name in the subject line of the email
and provide your preferred contact information for the best response time.
Visit our help center Help Center for more guides and tutorials