TABLE OF CONTENTS
- Step 1: Tab Types
- Step 2: Start-Order Tab
- Step 3: Named-Tab
- Step 4: Credit Card Tab
- Step 5: Tables
- Additional Resources and Help!
Step 1: Tab Types
The type of ordering tabs that will be used on EZ Dine app should be configured on Studio first. For detailed instructions on setting up the tab types please reference the Studio article here

Studio Tab Type Creation
Step 2: Start-Order Tab
- The start order tab type by default will use the quick order numbering system for each order
- Select new order and a quick order number will be created ready for order entry. The order numbers will start with 0001 and increment up by one automatically for any new orders
- You will have a single order control tab listed used for sending and paying the order
- Send & Pay will be shown once new items are added to the quick order
- Tap send & pay and all items on the quick order will be sent while moving to the payment page simultaneously
- If the quick order is left open the pay option can be used to navigate back to the payment page as needed
- Once the order is finalized a new quick order will be created automatically
- The quick order numbers will be reset daily based on the store report cutoff time back to 0000

Step 3: Named-Tab
- Named-tabs can be used for entering names, numbers, or both for the order identifier. Common examples would be for dine-in or carryout orders
- Selecting new order will prompt the Order Name entry window. Select the enter order name text field and an onscreen keyboard will be shown. Enter the name and save and your new order will be created. Hitting cancel will close the keyboard and return back to the named-tab ordering section
- After selecting save you will be and taken directly to the menu ordering page to enter in the items
- You will have two order control tab options that can be used depending on the order navigation required
- The return option will take you back to the named tab ordering section. If there are no items entered the named order will be automatically closed
- Once items entered you will have send and send & pay navigation options
- Send will return back to the named tab ordering section keeping the order open
- Send & Pay will send all items on the named order while navigating to the payment page. Same process as for quick orders
- When all items are sent the pay option will open to the payment page
- Named-tab orders will be listed in three columns sorted alphabetically
- Orders with a green dollar sign icon means all items have been sent and that order is completed and ready for payment. Orders without the green dollar sign icon have pending items that have not been sent yet
- Selecting the order name will open the named-tab for editing
- Selecting the green dollar sign icon will take you to the payment page
- Once the order is finalized you will be taken automatically back to the named-tab ordering section

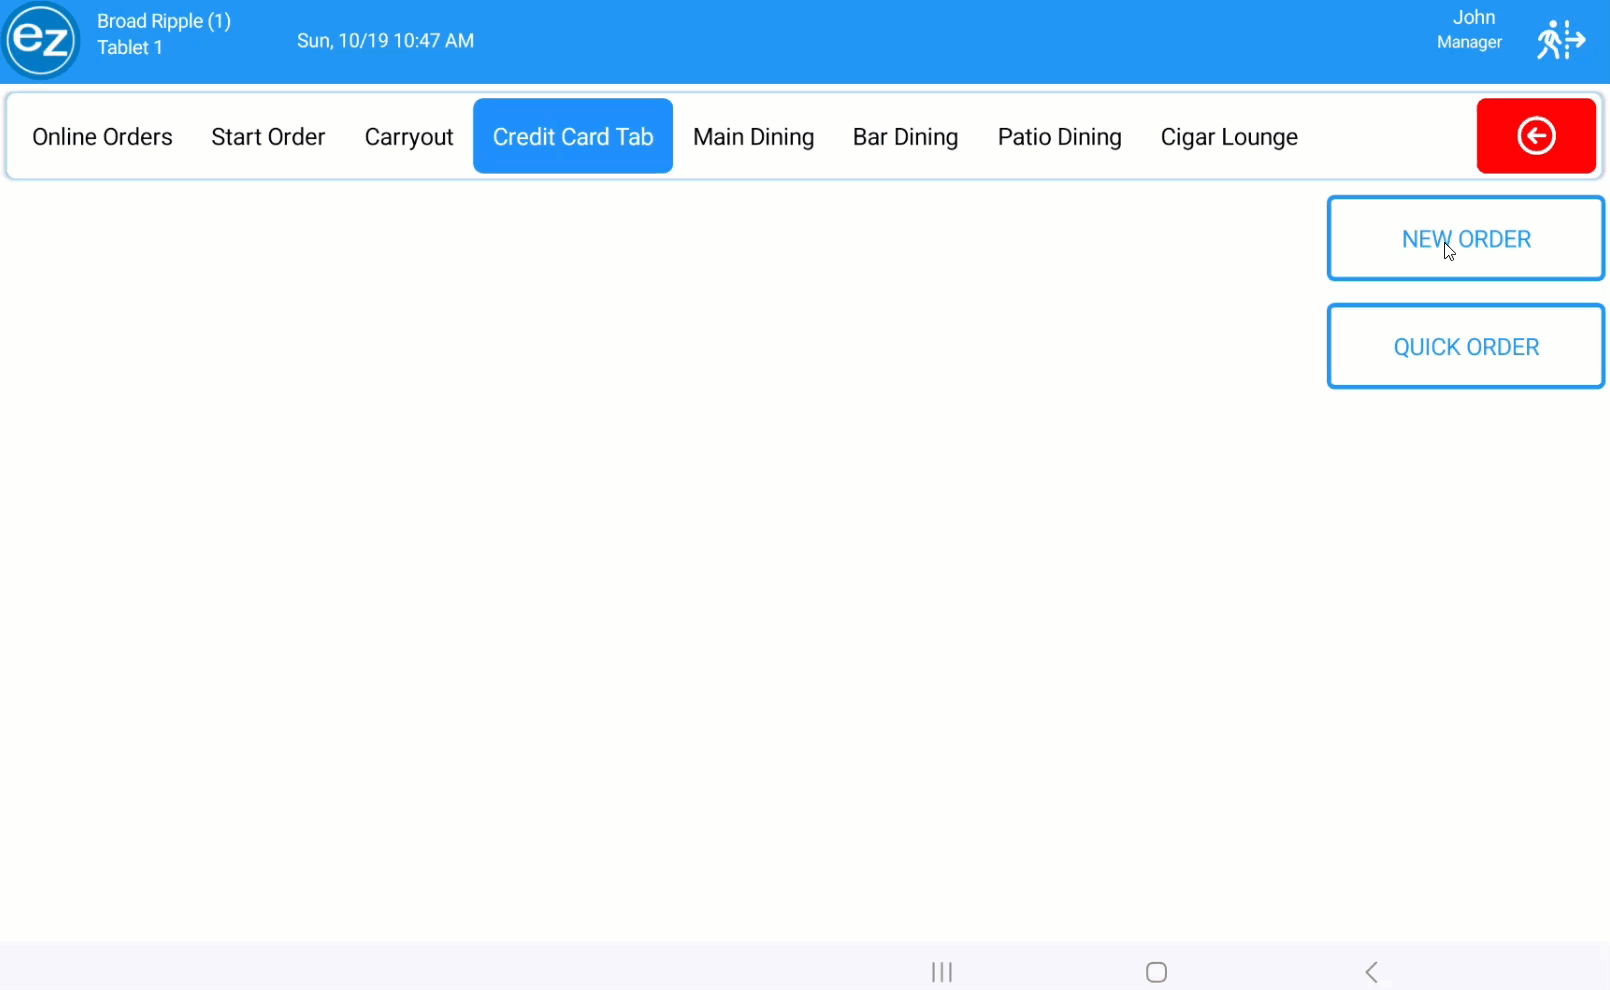
Step 4: Credit Card Tab
Credit Card tabs are a popular feature for creating and storing a customer's credit card without requiring the credit card back again to process the payment.
Initializing a credit card tab will require a pre-auth amount configured from the store settings. The pre-auth amount is required since it will verify the credit card is valid before storing the credit card tab. The amount used should be around the average transaction volume to avoid possible chargebacks when using smaller amounts like $1. Any instances when the tab is voided or an alternative payment method is used. The pre-auth amount will be listed as a temporary and pending charge on the customer's statement and drop-off after a few business days depending on the issuing bank

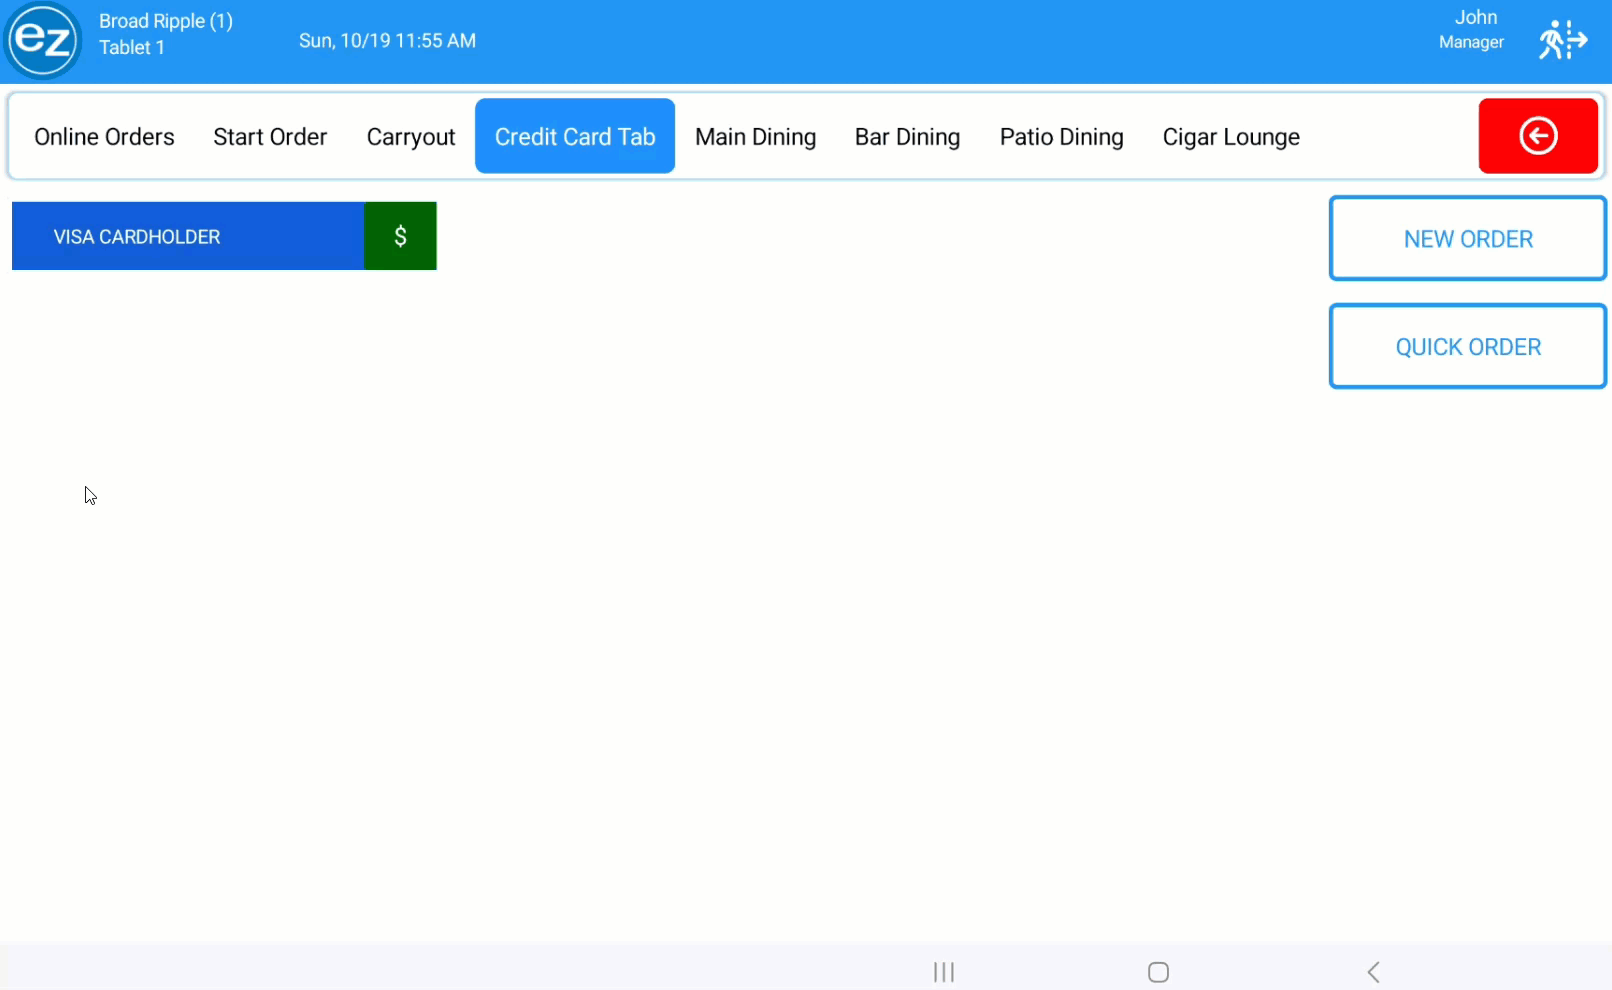
- From the credit card tab ordering section you will have two options for starting and creating a credit card tab
- Select new order and the pre-auth amount will be sent to the credit card reader for processing
- The pre-authorizing credit card image will be displayed on the EZ Dine app locking the screen while the credit card is processing
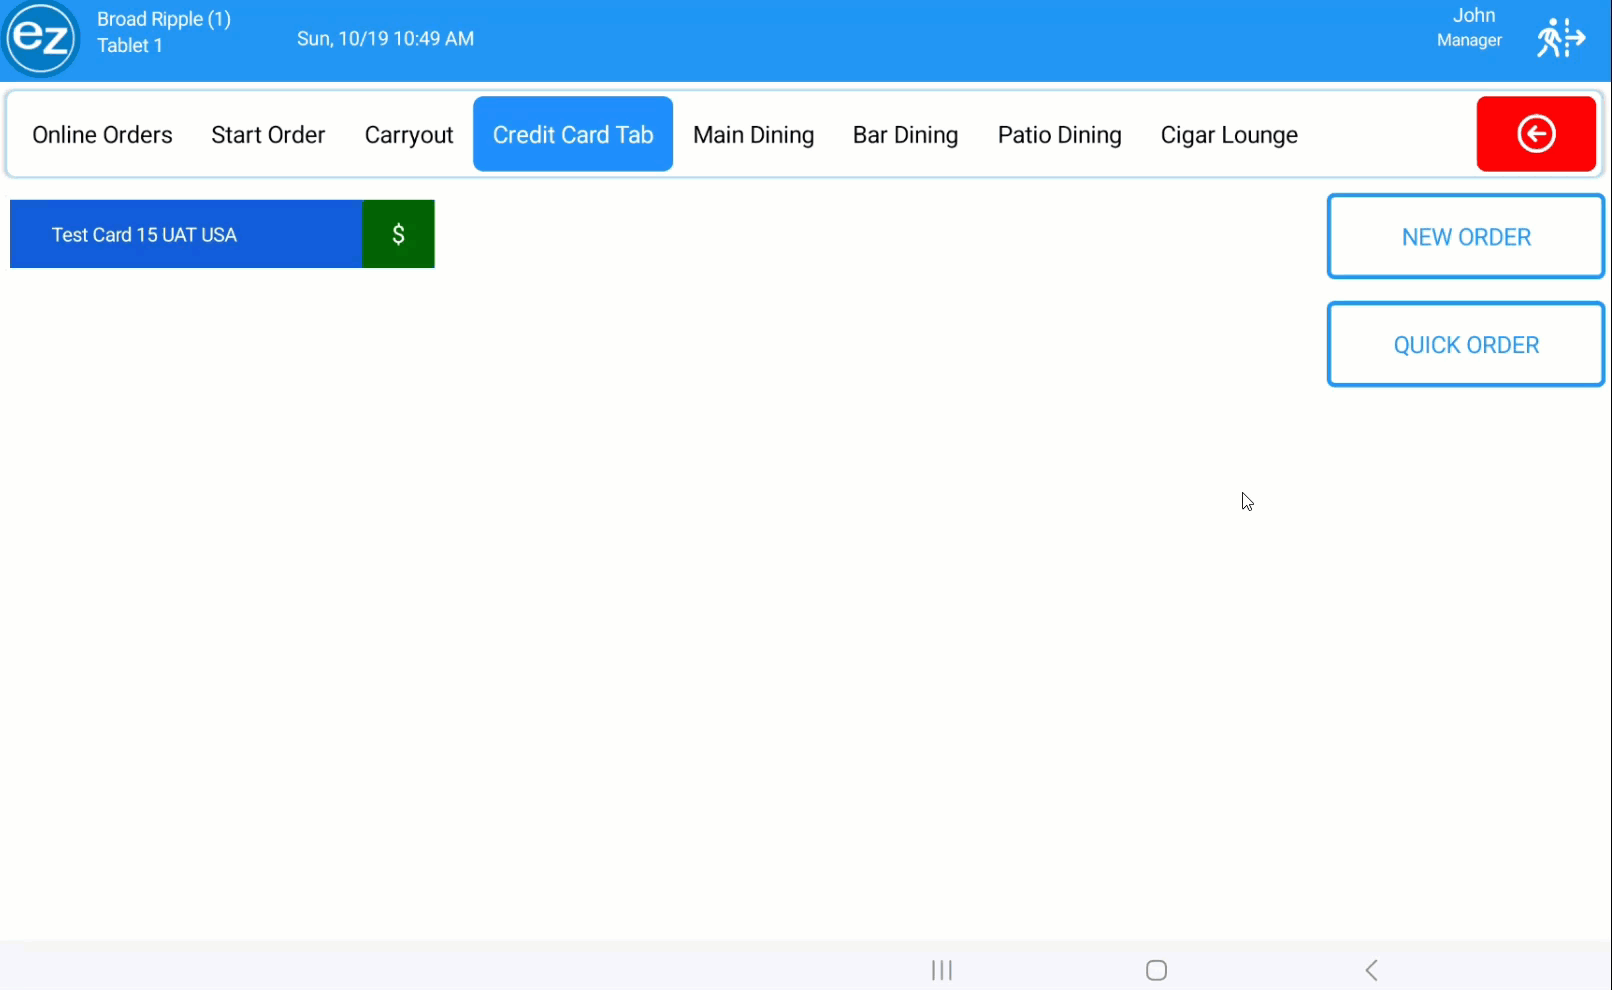
- Once the pre-auth is completed the credit card tab will be created and open directly to the menu page. The credit card tab will be listed by the customer's name associated to the credit card
- The same order control options used for named orders will be listed
- The credit card tabs will be displayed in three columns sorted alphabetically same as named tab orders. Scrolling up/down on the page will allow you to view additional credit card tabs
- Similar to named-tabs the green dollar sign icon will indicate all items have been sent and the order can be finalized
- Selecting the name of the credit card tab will open the menu/order page for editing the tab
- Any credit cards tab created using the tap/contactless method and will list the tab name with the generic name contacless and last four of the card number. Without inserting the card there is no option to grab the customer name on the credit card
- Select quick order and you will be taken directly to the menu/order page
- You will have the option to start a credit card tab or simply start and finalize the quick order without creating a credit card tab
- Enter items and select start credit card tab. Follow prompts on the card reader for pre-authing the credit card
- The pre-authorizing credit card image will be displayed on the EZ Dine app locking the screen while the credit card is processing
- The credit card tab will be created and the quick order tab updated reflecting the customer's name on the credit card
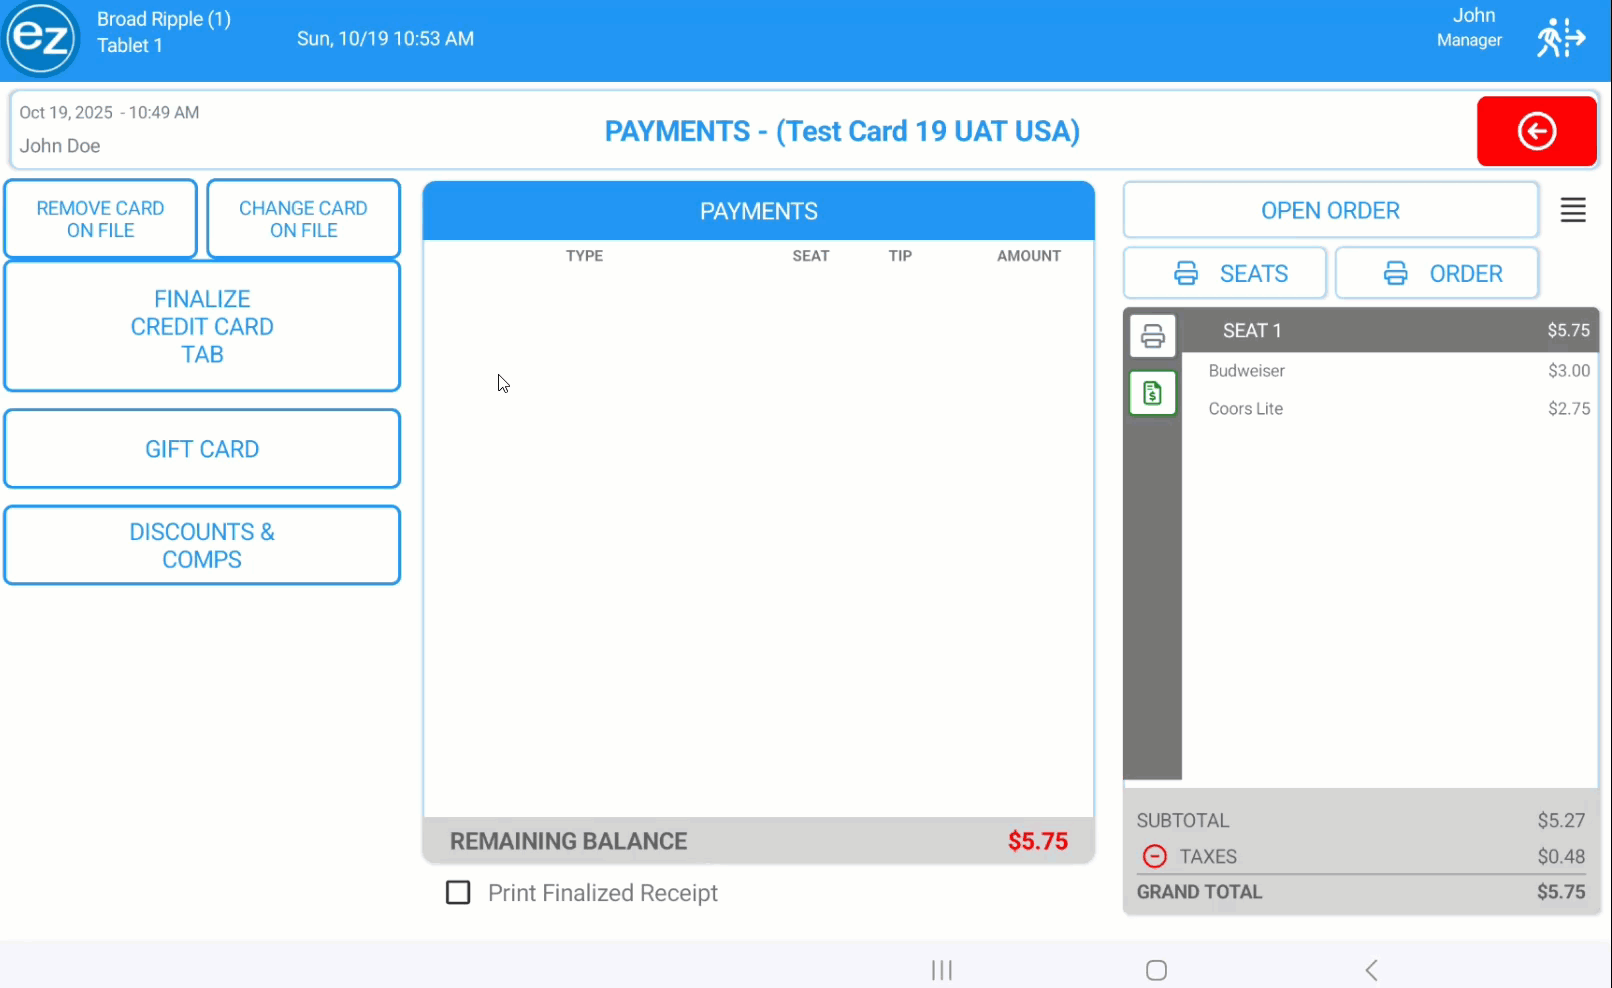
- You will have the option to send & pay to close the credit card tab or tap back to keep the tab open
- The payment page will hide the normal cash and credit card payment buttons
- Any instances when the credit card tab needs to be edited. The remove and change card on file options can be used
- Remove card on file will void the credit card and allow for alternative payment methods that can be applied to finalize the tab
- Change card on file will void the existing credit card and send a pre-auth request to the card reader. This will allow the ability for a different credit card payment to be authorized on the tab
- Select back to exist the payment page and the credit card tab name will be updated automatically reflecting the new credit card
- When ready to finalize credit card tabs you would select the finalize credit card tab button
- The credit card will process and finalize the order all at once and navigate back to the tab ordering page
New Order Credit Card Tab
Quick Order Credit Card Tab
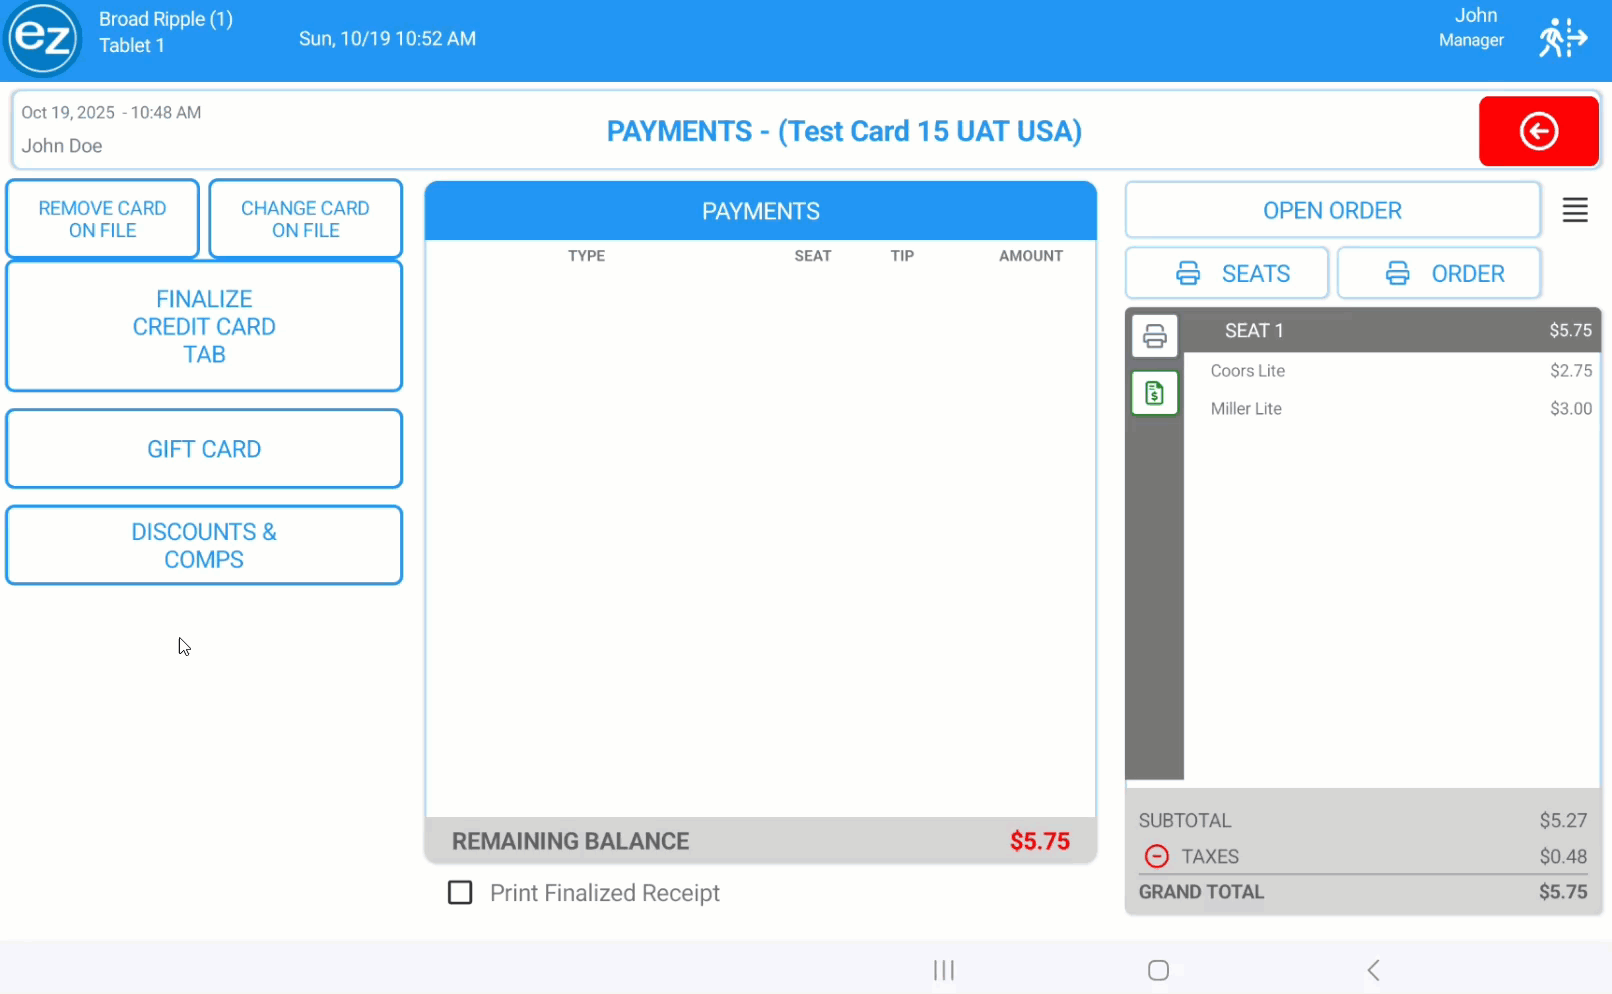
Remove Card
Change Card
Finalize Credit Card Tab
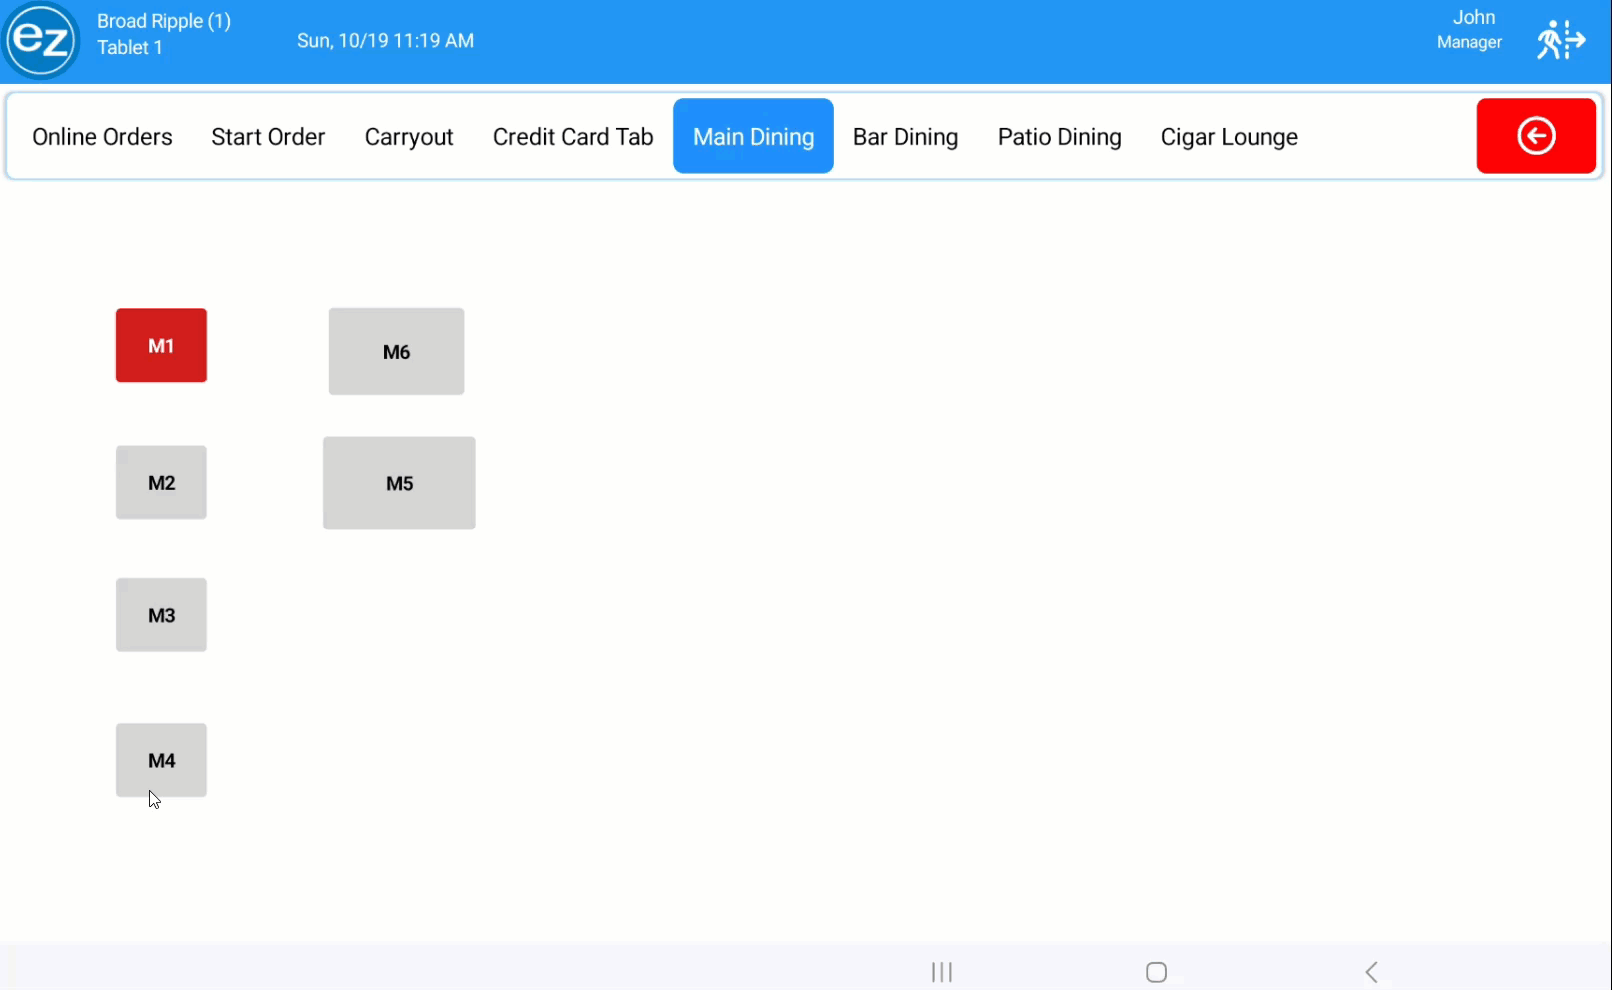
Step 5: Tables
- The table layout created on Studio will be shown under the tab name the layout has been associated too
- For tables setup using a guest number when the table is selected you will need to confirm the number of guests sitting at the table
- The default guest number will be shown. You can modify the guest count using the -+
- Select apply and the number of guest confirmed will be the number of seats created for the table. You will be taken to the menu/order page with the seats listed. Selecting cancel on the number of guests window will close the popup and return you back to the table layout
- The same order control options used for named orders will be listed
- A new ordering option for holding items will also be displayed . For details on holding items please reference the EZ Dine App article here. Holding Items
- Seat 1 will be selected by default
- Tapping the seat number heading will be used to navigate between the individual seats
- Adding additional seats can be added selecting the guest + icon at the top of the ticket. New seats will be created in numerical order
- Deleting the seat can be done by selecting the minus icon to the left of the seat number
- Once items are entered under the seat the delete seat option will become hidden. In order to delete the seat after the items are entered you would need to move, delete, or void the items from the seat so the seat becomes empty
- Organizing the order by the seat will list those items by the seat on the kitchen tickets and also when ready for payment
- Once items are entered on the seats you can select the relevant order control options listed
- The table will be highlighted in the employee's color on the layout
- Select the table and you will be taken back to the menu/order page where you can edit the order
Additional Resources and Help!
Still have questions? Please contact us any time at support@ezsoftpos.com.
NOTE: If emailing, please include your business name in the subject line of the email
and provide your preferred contact information for the best response time.
Visit our help center Help Center for more guides and tutorials